Showing posts with label Tutorials. Show all posts
Jan 30, 2018

Well, well, well...


Hey Y'all! I know, you're wondering, "Who's this chick?" It's been way too long! This won't be a long update post, or empty promises about posting more. Honestly- I don't think about this blog daily. What it is is a little update on life & what I want to do with this blog from here on out.


This blog was my baby for so long! In the midst of life changes like buying our first home, becoming a foster home, having our first foster children here for 6 months until they moved on. More health setbacks. Tough realizations about how much our lives have changed from when we met to now dealing with my health issues stopping us from being who we were. Lots & lots of changes! This blog was shoved not only on the back burner, but in the back of the deepest closet, like basement closet that only sees the light of day once a year type of shoving! For that, I'm sorry! 

This blog was my outlet. My little space in the world to share what craft projects I was trying, what recipes I loved. I posted 5 times a week, and once all the other life things started piling on top of me, I couldn't keep up. Something had to give, and the blog was it.


So, what do I want this blog to be now? What will you see from here on out? Well, more of my life, more personal things. The Mr. and I are transitioning into & finally dealing with many things, and the blog will reflect that. Some of what you will see is:


  • Trying to become Vegan- more whole foods, plant based to see if it will help with my health issues. (Fibromyalgia, Endometriosis, Arthritis, Severe Migraines 8 times a month, etc.)

  • On that note, you'll see more about how we are coming to terms with the health issues. What's helping me at the moment, how we are trying to plan a more fulfilling life while dealing with the issues.

  • More crafting updates on my creative journey. How I try to carve out time to paint & draw more than I have been. Also, the journey from an idea of a product I want to offer in my shop, through creating it & finally posting it. 

  • I am toying with the idea of recording short YouTube videos, studio vlogs, painting time-lapses, tutorials, etc. I'm thinking that videos will be easier than long blog posts. What do you think?

  • More on my faith, how I have to cling to Jesus more and more to stay joyful during this life with health problems.

  • More book reviews, especially ones that really make me think or change things about my life.


Lots of new things going on in my life, and I still want to share it with you! I have accepted that I won't be able to post 5 times a week like before, but I still love the blogging community and want this space to continue!

What are you looking forward to the most? Comment below! 
And don't forget- I update the most on my Instagram, so don't forget to follow me there to see what I'm up to!
Sep 15, 2015

DIY Egg Adoption Announcement

Hey there! Most of you know, but in case you didn't, we're adopting!! EKK! I'm so excited! We made the announcement a few weeks ago, but while we were keeping it under wraps, I had time to think about how I wanted to tell our family & friends, and I didn't want it to be nonchalantly because, for us ladies that have infertility issues, this is our "Pregnancy Announcement".

We were able to tell the Mr's family in person over dinner, but for my family, who are all in different states, I wanted to do a cute egg announcement that you see all over pinterest & etsy. The thing I didn't like was the price tags that accompany said cute egg announcements, or the worry that the eggs would break en route to them, so I decided to make my own and send them the photo! And this is how I did it-


Step 1: Take out your egg(s) and let them sit on counter to make them room temperature for a day or so.

Step 2: Take a safety pin or other long needle and gently poke/drill into the egg on a pointy end, to make a small hole. Do the same to the other pointy end of the egg. After the holes are made, poke around in the egg GENTLY to try and break the yoke and membranes all up.


Step 3: With two fingers, (I used thumb & pointer finger) put egg in between fingers covering the holes you just made- tightly. Then, shake the crap outta that egg! You're trying make sure all the yoke and membrane is as broken and tiny as they can be because...

Step 4: Get ready, take a couple of deep practice breathes, and gently put your mouth on one end over the hole, and blow with all your might! You MUST get all the insides of the egg, out! Do this over the sink to keep from destroying your whole kitchen!

Step 5: After all junk is out of egg, then fill a bowl with warm soapy water. Gently- (I can't stress this enough throughout this whole project- deal with this egg as gently as you can) - dunk egg under water so that some of the warm soapy water gets inside the egg & washes it out a bit. Do this 2-3 times, then drain egg so all water is out of it. Lay it aside to dry completely overnight.

*At this point, if you're going to paint your egg with craft paint or glue glitter on it, do it at this point, and skip steps 6 & 7, go to step 8.*

Step 6: Empty the water out of the bowl, fill back up with warm water. Take coffee grinds (could be from that morning's coffee if you'd like to recycle) and put in bowl. Stir a bit until water starts to get muddy. Then, dunk egg in bowl, making sure to rotate every hour or so.  I did this step for a whole day, turning egg a tiny bit every hour to make sure the coffee water stained the egg evenly.


Step 7: Take egg out of water, making sure to drain all water out, and lay somewhere safe overnight so it can dry. Your egg should look a bit dirty.

Coffee stained egg on left, untouched egg on right.

Step 8: You're going to make your paper announcement. I simply took patterned paper (off my grocery list pad) and write all fancy, "We're Adopting". You could write whatever message you want on it, like "We're Pregnant", or maybe if this egg is going to your parents, "You're going to be a grandparent" just whatever fits your needs, write it on here. I choose to tear the paper to make it a little rough looking, but you could do whatever you'd like here.


Step 9: Take a toothpick, put it on one edge of the paper, and the wrap the paper around the toothpick as tightly as you can. The goal here is to try to roll the paper small enough to fit through the hole, and go inside the egg.


Step 10: Slip the paper off the toothpick, and see if you can roll it to make it even smaller. Then, AS GENTLY AS YOU CAN- insert the paper into the egg through the hole. I cracked my egg here, so if it's not fitting, gently slide the paper back out, and try rolling it as small as you can!


Step 11: Once you get it in, you could be finished. But I love glitter and had to add glitter in mine! I tore a corner off a sheet of paper, rolled it into a tiny funnel, put it gently in the hole of the egg, and poured glitter in it. I didn't fill it up all the way, maybe 1/3 filled.


Step 12: YOU'RE DONE! If you choose to ship this, make sure to add enough moss or packing material so that egg doesn't budge at all! Then, put it in a small box, like one that fits a coffee mug would be perfect. You then could use a larger box, putting packing peanuts to secure the smaller box in the middle. Maybe like a shoe box? Something like that. Just make sure the egg is well taken care of in there!

I choose to make a series of photos, and send that to my family. Check it out:


I hope you've enjoyed this tutorial! Please leave a comment below about the best thing you've DIY-ed this year!
May 8, 2015

Easy Peasy Scroll To Top Button


Hey! Wanna know how I got that spiffy new "Back to top" button you see at the bottom right of the screen? I MADEEEE ITTTTT! Yeah, me! Mrs.No-Techie-Techie made this bad boy!

Before you think I'm the Yoda of blogging code, (Actually, Aimee is my Yoda) I searched far and wide, and I just couldn't find easy instructions, or buttons that were cute, so I decided to make my own, and share it with you guys!

OK, this is what I did, and this is for BLOGGER only. I can't help you if you have any other sort of formatting.

To use my Back To Top Button- 

1. Create a widget.

  • In Blogger, go to Layout, and create a new HTML/JavaScript widget at the footer part of your blog. (This is where you're going to put all the coding) leave the box open.
2. Add the code!
  • This one below was found on My Blogger Tricks.  Copy all of it, and paste this code into the widget box. Now, this one has my graphic with the gold arrow and words. If you'd like to make your own, see the second set of instructions.  
3. SAVE SAVE SAVE! 

  • Save your widget box and go check out your spiffy new Back To Top button! 


<script type="text/javascript" src="http://ajax.googleapis.com/ajax/libs/jquery/1.3.2/jquery.min.js"></script>
<script type="text/javascript" >
/***********************************************
* Scroll To Top Control script- © Dynamic Drive DHTML code library (www.dynamicdrive.com)
* Modified by www.MyBloggerTricks.com
* This notice MUST stay intact for legal use
* Visit Project Page at http://www.dynamicdrive.com for full source code
***********************************************/
var scrolltotop={ 
    //startline: Integer. Number of pixels from top of doc scrollbar is scrolled before showing control 
    //scrollto: Keyword (Integer, or "Scroll_to_Element_ID"). How far to scroll document up when control is clicked on (0=top). 
    setting: {startline:100, scrollto: 0, scrollduration:1000, fadeduration:[500, 100]}, 
    controlHTML: '<img src="http://i1279.photobucket.com/albums/y536/Jessica_Hnatiuk/Back%20to%20Top%20Button_zpstayvnzv4.png" />', //HTML for control, which is auto wrapped in DIV w/ ID="topcontrol" 
    controlattrs: {offsetx:5, offsety:5}, //offset of control relative to right/ bottom of window corner 
    anchorkeyword: '#top', //Enter href value of HTML anchors on the page that should also act as "Scroll Up" links
    state: {isvisible:false, shouldvisible:false},
    scrollup:function(){
        if (!this.cssfixedsupport) //if control is positioned using JavaScript
            this.$control.css({opacity:0}) //hide control immediately after clicking it
        var dest=isNaN(this.setting.scrollto)? this.setting.scrollto : parseInt(this.setting.scrollto)
        if (typeof dest=="string" && jQuery('#'+dest).length==1) //check element set by string exists
            dest=jQuery('#'+dest).offset().top
        else
            dest=0
        this.$body.animate({scrollTop: dest}, this.setting.scrollduration);
    },
    keepfixed:function(){
        var $window=jQuery(window)
        var controlx=$window.scrollLeft() + $window.width() - this.$control.width() - this.controlattrs.offsetx
        var controly=$window.scrollTop() + $window.height() - this.$control.height() - this.controlattrs.offsety
        this.$control.css({left:controlx+'px', top:controly+'px'})
    },
    togglecontrol:function(){
        var scrolltop=jQuery(window).scrollTop()
        if (!this.cssfixedsupport)
            this.keepfixed()
        this.state.shouldvisible=(scrolltop>=this.setting.startline)? true : false
        if (this.state.shouldvisible && !this.state.isvisible){
            this.$control.stop().animate({opacity:1}, this.setting.fadeduration[0])
            this.state.isvisible=true
        }
        else if (this.state.shouldvisible==false && this.state.isvisible){
            this.$control.stop().animate({opacity:0}, this.setting.fadeduration[1])
            this.state.isvisible=false
        }
    },
   
    init:function(){
        jQuery(document).ready(function($){
            var mainobj=scrolltotop
            var iebrws=document.all
            mainobj.cssfixedsupport=!iebrws || iebrws && document.compatMode=="CSS1Compat" && window.XMLHttpRequest //not IE or IE7+ browsers in standards mode
            mainobj.$body=(window.opera)? (document.compatMode=="CSS1Compat"? $('html') : $('body')) : $('html,body')
            mainobj.$control=$('<div id="topcontrol">'+mainobj.controlHTML+'</div>')
                .css({position:mainobj.cssfixedsupport? 'fixed' : 'absolute', bottom:mainobj.controlattrs.offsety, right:mainobj.controlattrs.offsetx, opacity:0, cursor:'pointer'})
                .attr({title:'Scroll Back to Top'})
                .click(function(){mainobj.scrollup(); return false})
                .appendTo('body')
            if (document.all && !window.XMLHttpRequest && mainobj.$control.text()!='') //loose check for IE6 and below, plus whether control contains any text
                mainobj.$control.css({width:mainobj.$control.width()}) //IE6- seems to require an explicit width on a DIV containing text
            mainobj.togglecontrol()
            $('a[href="' + mainobj.anchorkeyword +'"]').click(function(){
                mainobj.scrollup()
                return false
            })
            $(window).bind('scroll resize', function(e){
                mainobj.togglecontrol()
            })
        })
    }
}
scrolltotop.init()
</script>

TA-DA! You DID it! 
IF you wanna brave designing your own button, look below. 

SECOND SET OF INSTRUCTIONS- For creating your own design- 

1. Create a widget.

  • In Blogger, go to Layout, and create a new HTML/JavaScript widget at the footer part of your blog. (This is where you're going to put all the coding) leave the box open.

2. Make your design-  
  • You can use a photo shop software or website. Make the graphic 100x100 (or whatever size you prefer) and design it any way you'd like! Save it to your computer. 
  • Then, you upload it to a hosting site, I personally use photobucket. Keep this open in a tab. 

3. Add the code!
  • This one below was found on My Blogger Tricks Paste this code into the widget box that you left open. 
  • After that, you'd add the URL to your graphic to the code, replacing the words IMAGE LINK  (Please be careful with this part to ONLY replace those words and no other letters, spaces or symbols)
4. SAVE SAVE SAVE! 
  • Save your widget box and go check out your spiffy new Back To Top button! 


<script type="text/javascript" src="http://ajax.googleapis.com/ajax/libs/jquery/1.3.2/jquery.min.js"></script>
<script type="text/javascript" >
/***********************************************
* Scroll To Top Control script- © Dynamic Drive DHTML code library (www.dynamicdrive.com)
* Modified by www.MyBloggerTricks.com
* This notice MUST stay intact for legal use
* Visit Project Page at http://www.dynamicdrive.com for full source code
***********************************************/
var scrolltotop={
    //startline: Integer. Number of pixels from top of doc scrollbar is scrolled before showing control
    //scrollto: Keyword (Integer, or "Scroll_to_Element_ID"). How far to scroll document up when control is clicked on (0=top).
    setting: {startline:100, scrollto: 0, scrollduration:1000, fadeduration:[500, 100]},
    controlHTML: '<img src="IMAGE LINK" />', //HTML for control, which is auto wrapped in DIV w/ ID="topcontrol"
    controlattrs: {offsetx:5, offsety:5}, //offset of control relative to right/ bottom of window corner
    anchorkeyword: '#top', //Enter href value of HTML anchors on the page that should also act as "Scroll Up" links
    state: {isvisible:false, shouldvisible:false},
    scrollup:function(){
        if (!this.cssfixedsupport) //if control is positioned using JavaScript
            this.$control.css({opacity:0}) //hide control immediately after clicking it
        var dest=isNaN(this.setting.scrollto)? this.setting.scrollto : parseInt(this.setting.scrollto)
        if (typeof dest=="string" && jQuery('#'+dest).length==1) //check element set by string exists
            dest=jQuery('#'+dest).offset().top
        else
            dest=0
        this.$body.animate({scrollTop: dest}, this.setting.scrollduration);
    },
    keepfixed:function(){
        var $window=jQuery(window)
        var controlx=$window.scrollLeft() + $window.width() - this.$control.width() - this.controlattrs.offsetx
        var controly=$window.scrollTop() + $window.height() - this.$control.height() - this.controlattrs.offsety
        this.$control.css({left:controlx+'px', top:controly+'px'})
    },
    togglecontrol:function(){
        var scrolltop=jQuery(window).scrollTop()
        if (!this.cssfixedsupport)
            this.keepfixed()
        this.state.shouldvisible=(scrolltop>=this.setting.startline)? true : false
        if (this.state.shouldvisible && !this.state.isvisible){
            this.$control.stop().animate({opacity:1}, this.setting.fadeduration[0])
            this.state.isvisible=true
        }
        else if (this.state.shouldvisible==false && this.state.isvisible){
            this.$control.stop().animate({opacity:0}, this.setting.fadeduration[1])
            this.state.isvisible=false
        }
    },
   
    init:function(){
        jQuery(document).ready(function($){
            var mainobj=scrolltotop
            var iebrws=document.all
            mainobj.cssfixedsupport=!iebrws || iebrws && document.compatMode=="CSS1Compat" && window.XMLHttpRequest //not IE or IE7+ browsers in standards mode
            mainobj.$body=(window.opera)? (document.compatMode=="CSS1Compat"? $('html') : $('body')) : $('html,body')
            mainobj.$control=$('<div id="topcontrol">'+mainobj.controlHTML+'</div>')
                .css({position:mainobj.cssfixedsupport? 'fixed' : 'absolute', bottom:mainobj.controlattrs.offsety, right:mainobj.controlattrs.offsetx, opacity:0, cursor:'pointer'})
                .attr({title:'Scroll Back to Top'})
                .click(function(){mainobj.scrollup(); return false})
                .appendTo('body')
            if (document.all && !window.XMLHttpRequest && mainobj.$control.text()!='') //loose check for IE6 and below, plus whether control contains any text
                mainobj.$control.css({width:mainobj.$control.width()}) //IE6- seems to require an explicit width on a DIV containing text
            mainobj.togglecontrol()
            $('a[href="' + mainobj.anchorkeyword +'"]').click(function(){
                mainobj.scrollup()
                return false
            })
            $(window).bind('scroll resize', function(e){
                mainobj.togglecontrol()
            })
        })
    }
}
scrolltotop.init()
</script>

I hope you guys enjoy this tutorial! 
Feb 18, 2015

Gumbo Recipe

(To learn a bit about Mardi Gras and the Cajun culture, check out this link)

As promised, here is my gumbo recipe! It's not terribly hard, but, as always, everyone has their own recipe and their own way to cook. This is no exception. If you ask any Cajun, theirs will have some special ingredient, or a special way to cook it. I say, to each his own, because gumbo is good regardless!  OK, let's get to it.


Chicken and sausage gumbo

Ingredients:
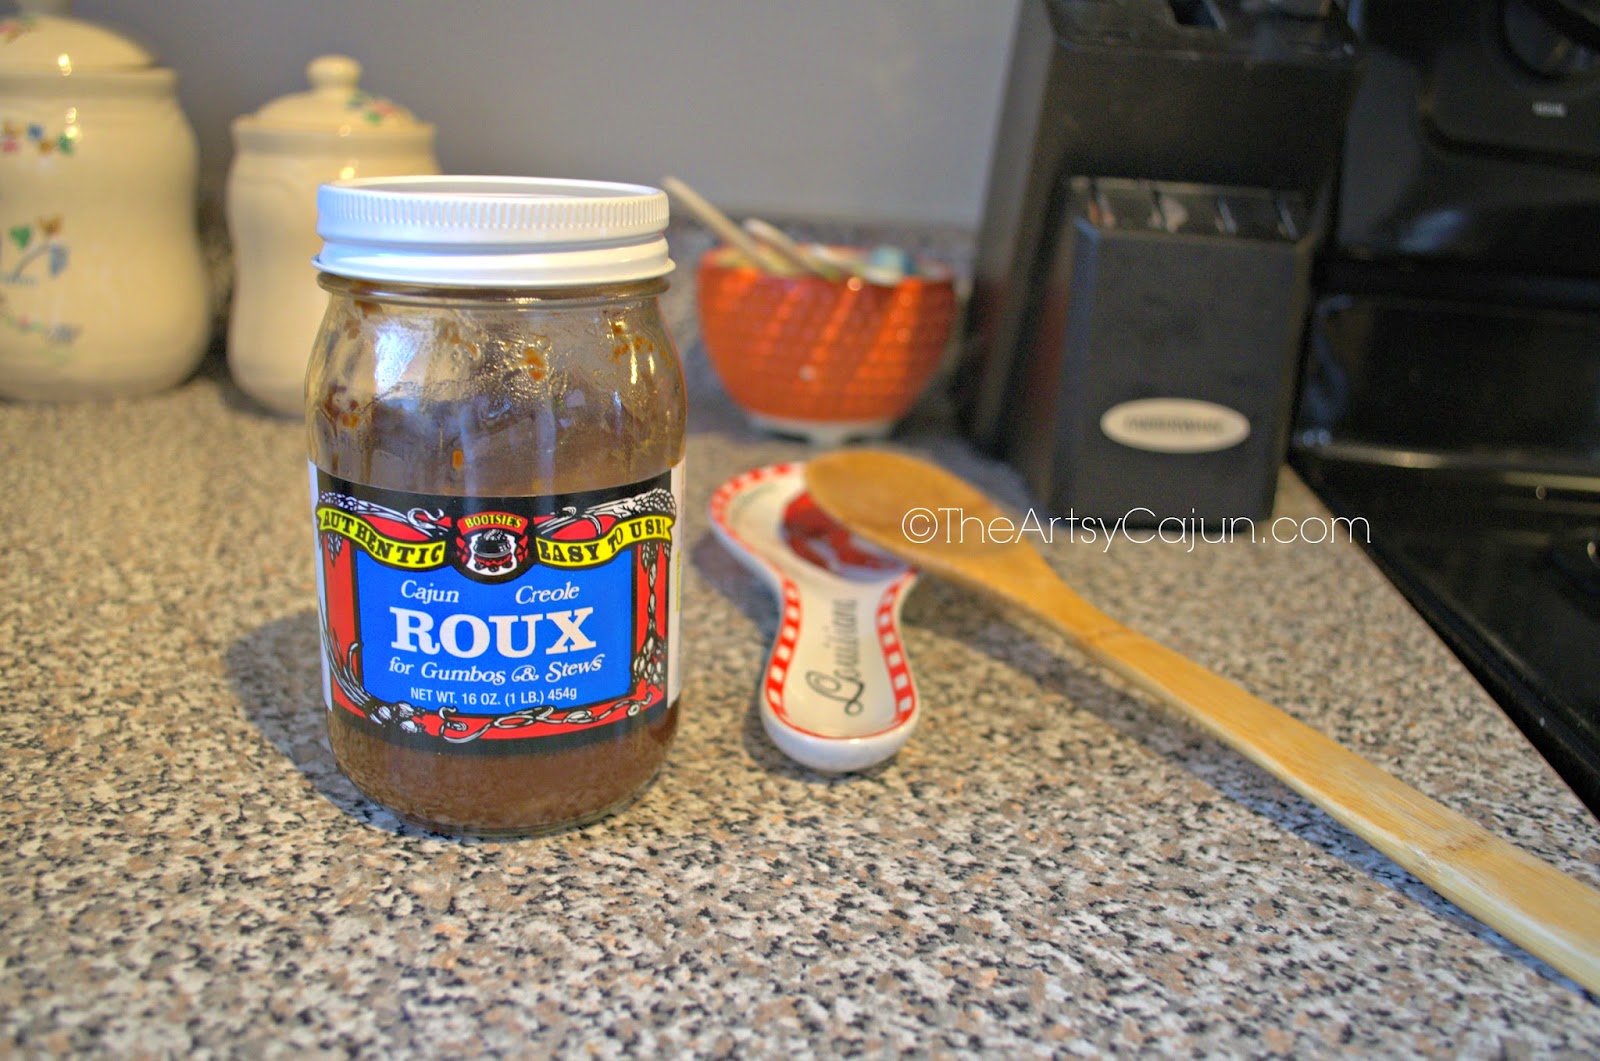
3 Tbsp roux, (I use the jar kind, but if you want to make it yourself, this recipe is a good one)
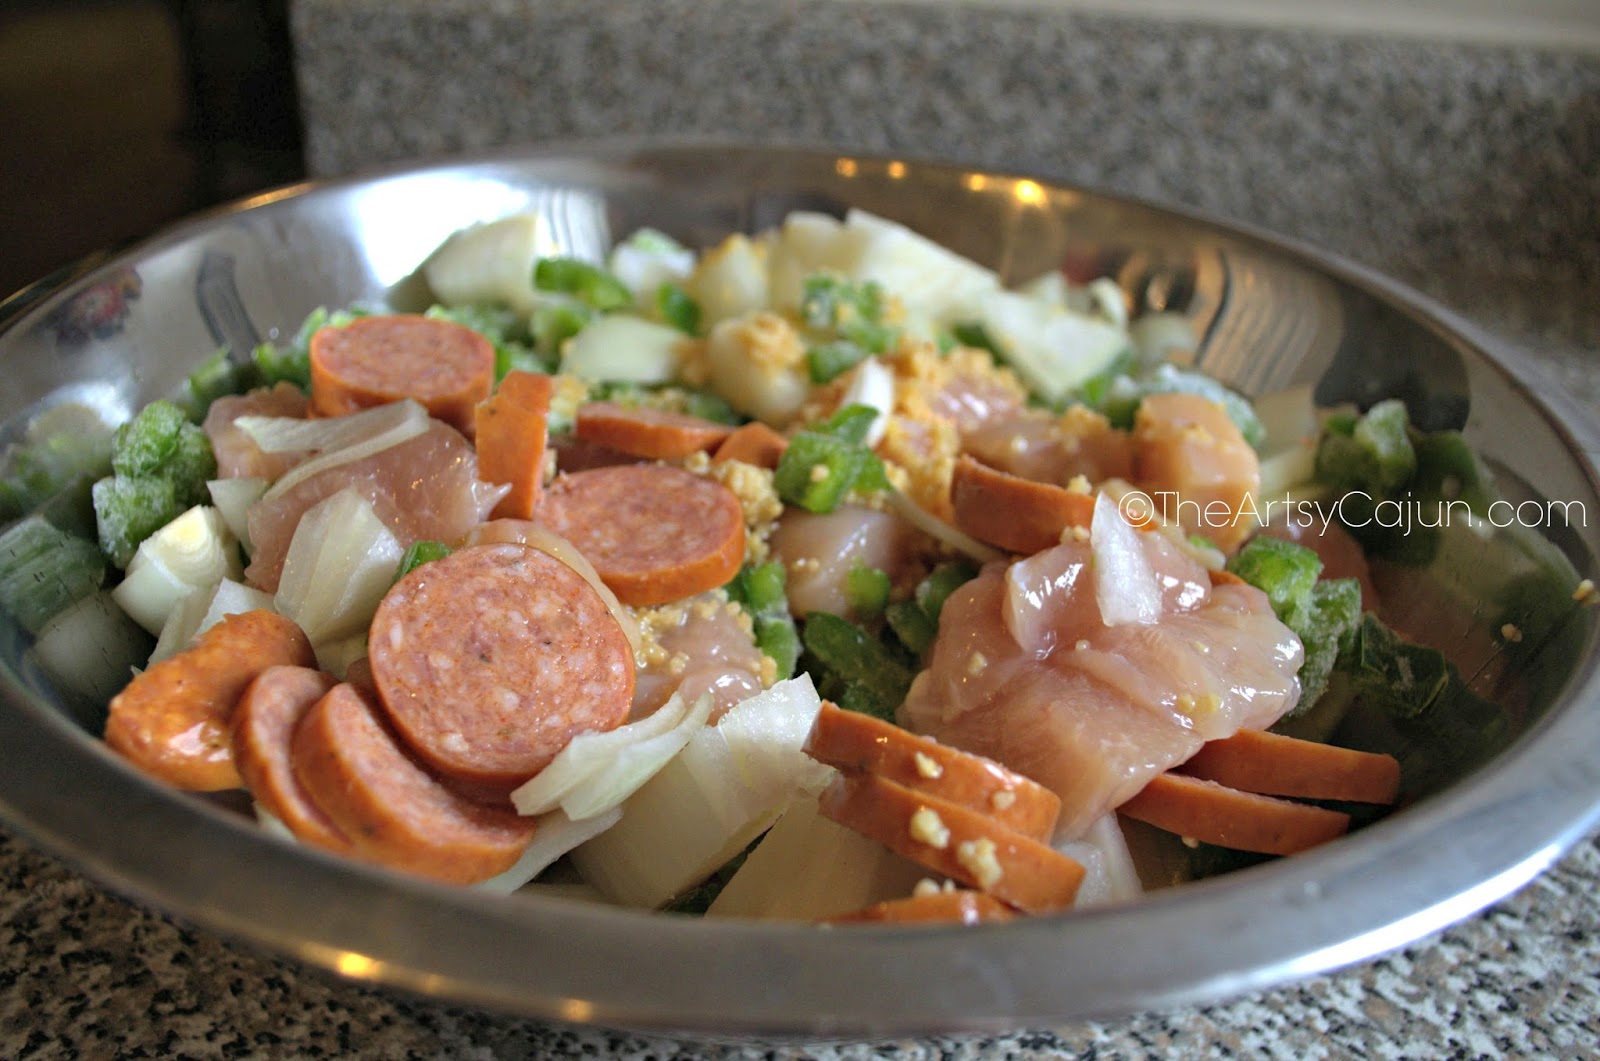
2 lbs. boneless, skinless chicken breasts, cubed
1 large onion, diced
1 large green bell pepper, diced
1 pkg. Andouille sausage, sliced thin
2 Tbsp chopped garlic
Salt and pepper to taste
Optional:  throw in a couple of eggs (shell in all) and when they boil in the gumbo, take them out, peel them, and put them back in to boil with gumbo. It soaks up flavor and they are DELICIOUS!


Instructions:

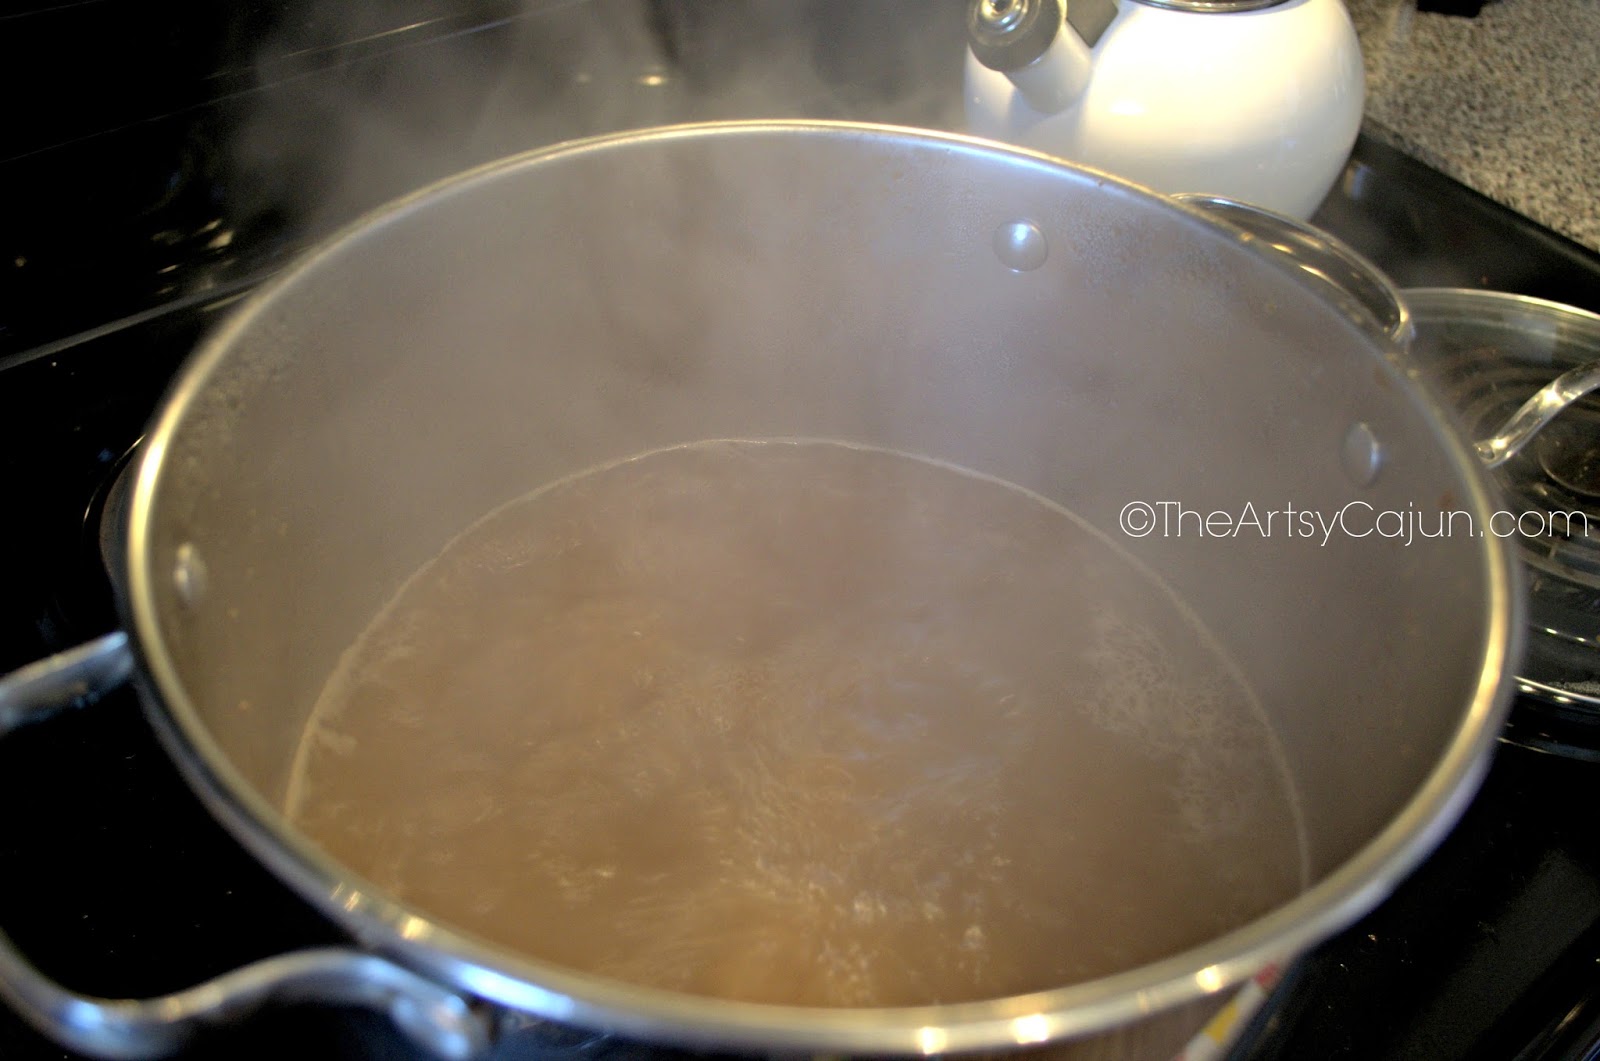
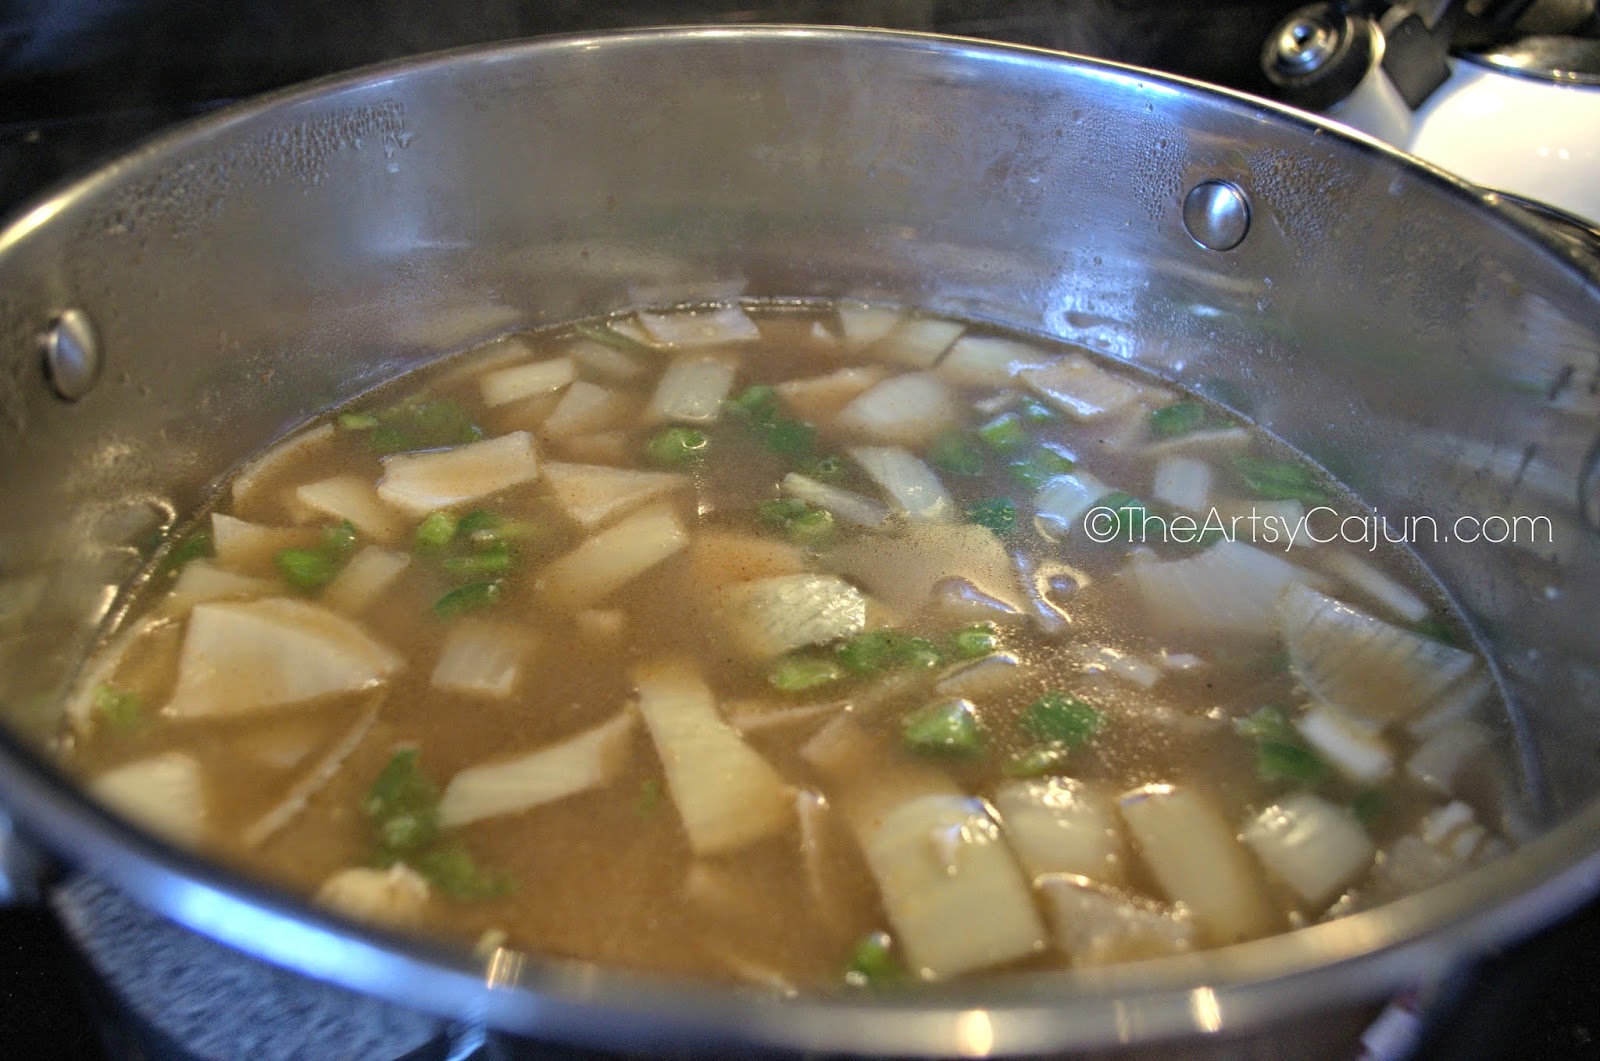
  In a tall stock pot, fill it half full with water, stove on high and bring to boil. (While water is heating up, I normally chop all the ingredients.) Once water is boiling, add roux, stirring occasionally until all roux clumps are dissolved. Then, carefully add all other ingredients in. Bring to a boil again, and lower heat to med high.
  Once the boil returns, I time it to boil for 3 hours, pot lid on, but with a crack so it doesn't boil over. Stir about every 20 minutes. IF the water is getting too low, add a bit, but you don't want it too watery.

Now, I have a rice cooker like the one below, but if you don't, this is a good recipe to cook rice on the stove.


I serve with a spoonfuls of rice in a bowl, and about two spoonfuls of gumbo. You want it kind of soupy. I also make mashed potatoes with it. You can also serve crackers.

It may take a couple of times to get it right, or perfected to your taste, but keep at it! This is a good, hearty meal that is "Stick to your ribs" perfect for winter!

 I also made king cake, (Recipe found here)  And I didn't do the dough right, but it still tasted amazing! Don't be afraid to take some chances in cooking... most of the time, it works even if it's not the prettiest!


It may be that I'm Cajun, but this is my absolute favorite meal. What's yours?

And if you haven't already, could you please fill out this Reader Survey? I want to know what you think!
Nov 27, 2014

A little thanks, and a little dirty rice


A very happy Thanksgiving to you! This year, I have so very much to be thankful for, even through the hiccups and stressful situations, I know that the good Lord above never gives us more than we can handle. 

So today, I'm going to share my Dirty Rice A.K.A. Rice Dressin' recipe with you! Maybe you'd like to add a little Cajun side to your next holiday meal!


Dirty Rice

1 pound ground beef
1 yellow onion, chopped
1 each red & green pepper, chopped
2 tsp beef bouillon granules
1/2 tsp each salt, seasoned salt, & ground black pepper
2 cups water
1 cup uncooked white rice.

Directions:
Heat large skillet over medium heat and stir in the onion, ground beef, red & green peppers, beef bouillon and seasonings. Cook and stir until the beef is browned and no pink remains. Drain and discard any extra grease. Stir in rice and water, bring to a boil over high heat, then reduce heat to med-low, cover, and simmer until the rice is tender and the liquid has been absorbed, 20-25 minutes. 

Or, if you have a rice cooker, cook the ground beef mixture, and then stir into the cooked rice. 


I hope you all have a great Thanksgiving! 

Oct 9, 2014

DIY Whipped Coconut Lotion

As I said yesterday, I loveeeee bath salt soaks! The problem with this is, the dry skin afterwards. I have been attempting to really look into product ingredients, and have been appalled at some of the chemicals I'd been putting on my body!

So, I researched on google and Pinterest natural lotions. Of course they were pricey, all the best things are, so I changed the research to find recipes.

I found that coconut oil is the best for your skin. Yes, I know it's a food product. But, after living in Hawaii and learning that the Hawaiians used the coconut oil in their hair and skin, I figured it was legit! I mean, if something can tame their hair and skin after being in salt water and the sea mist, then it would work for me!


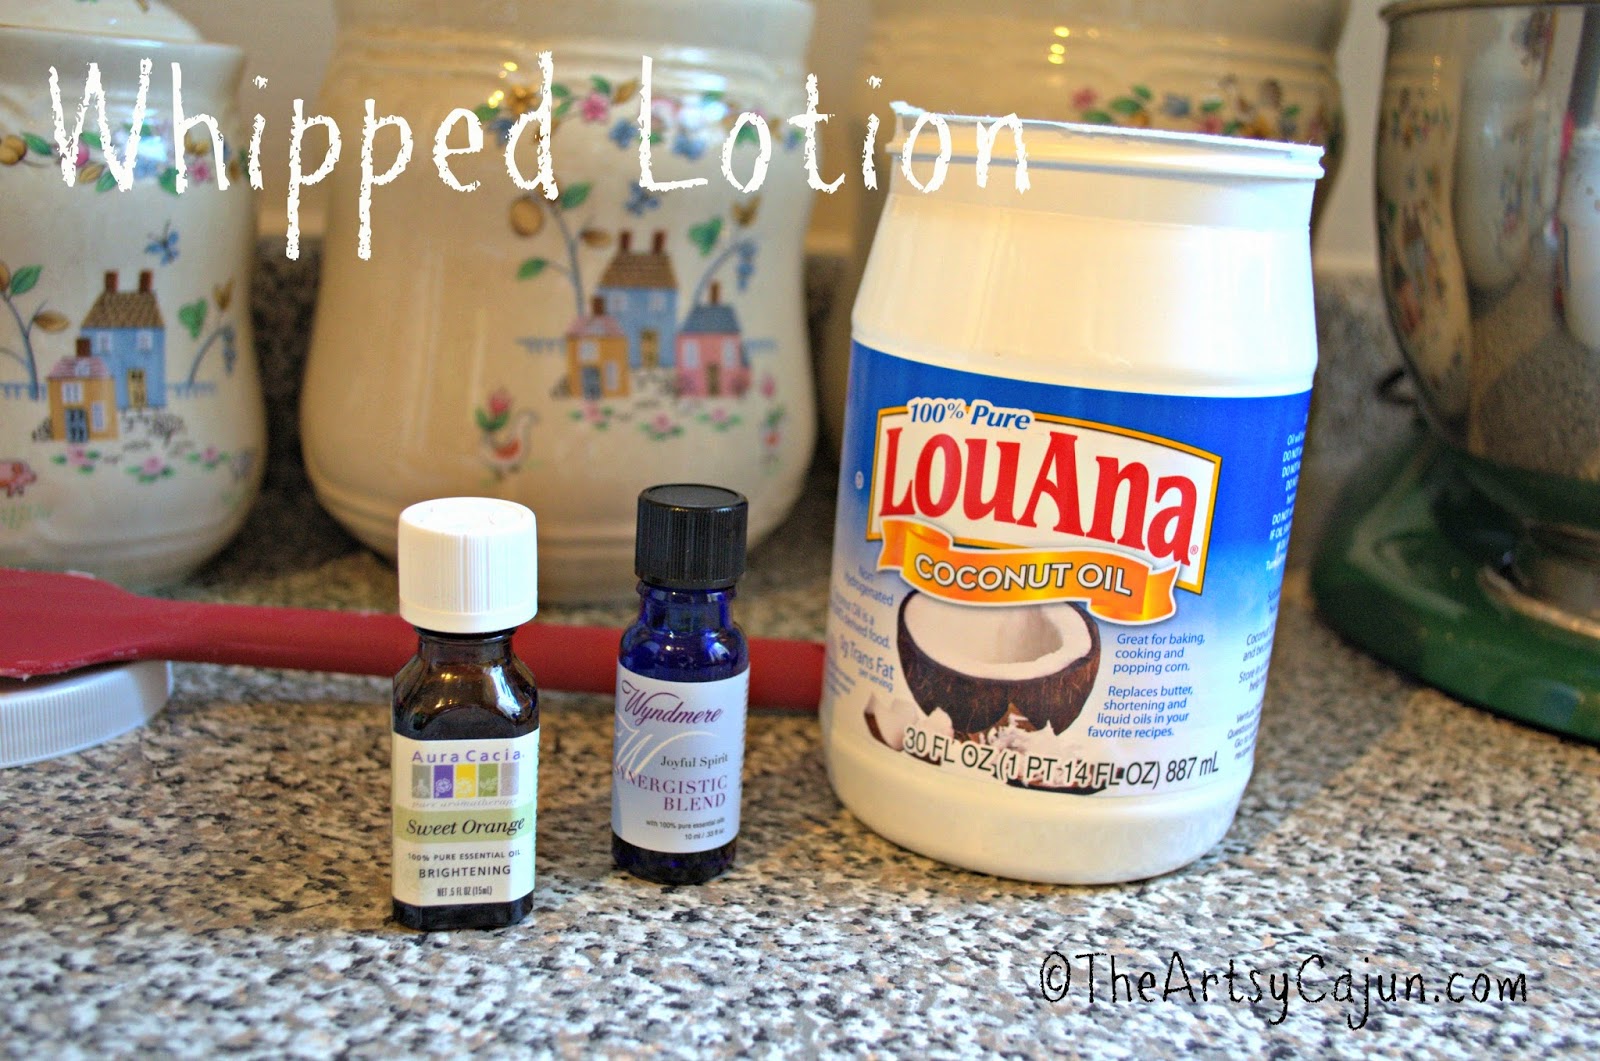
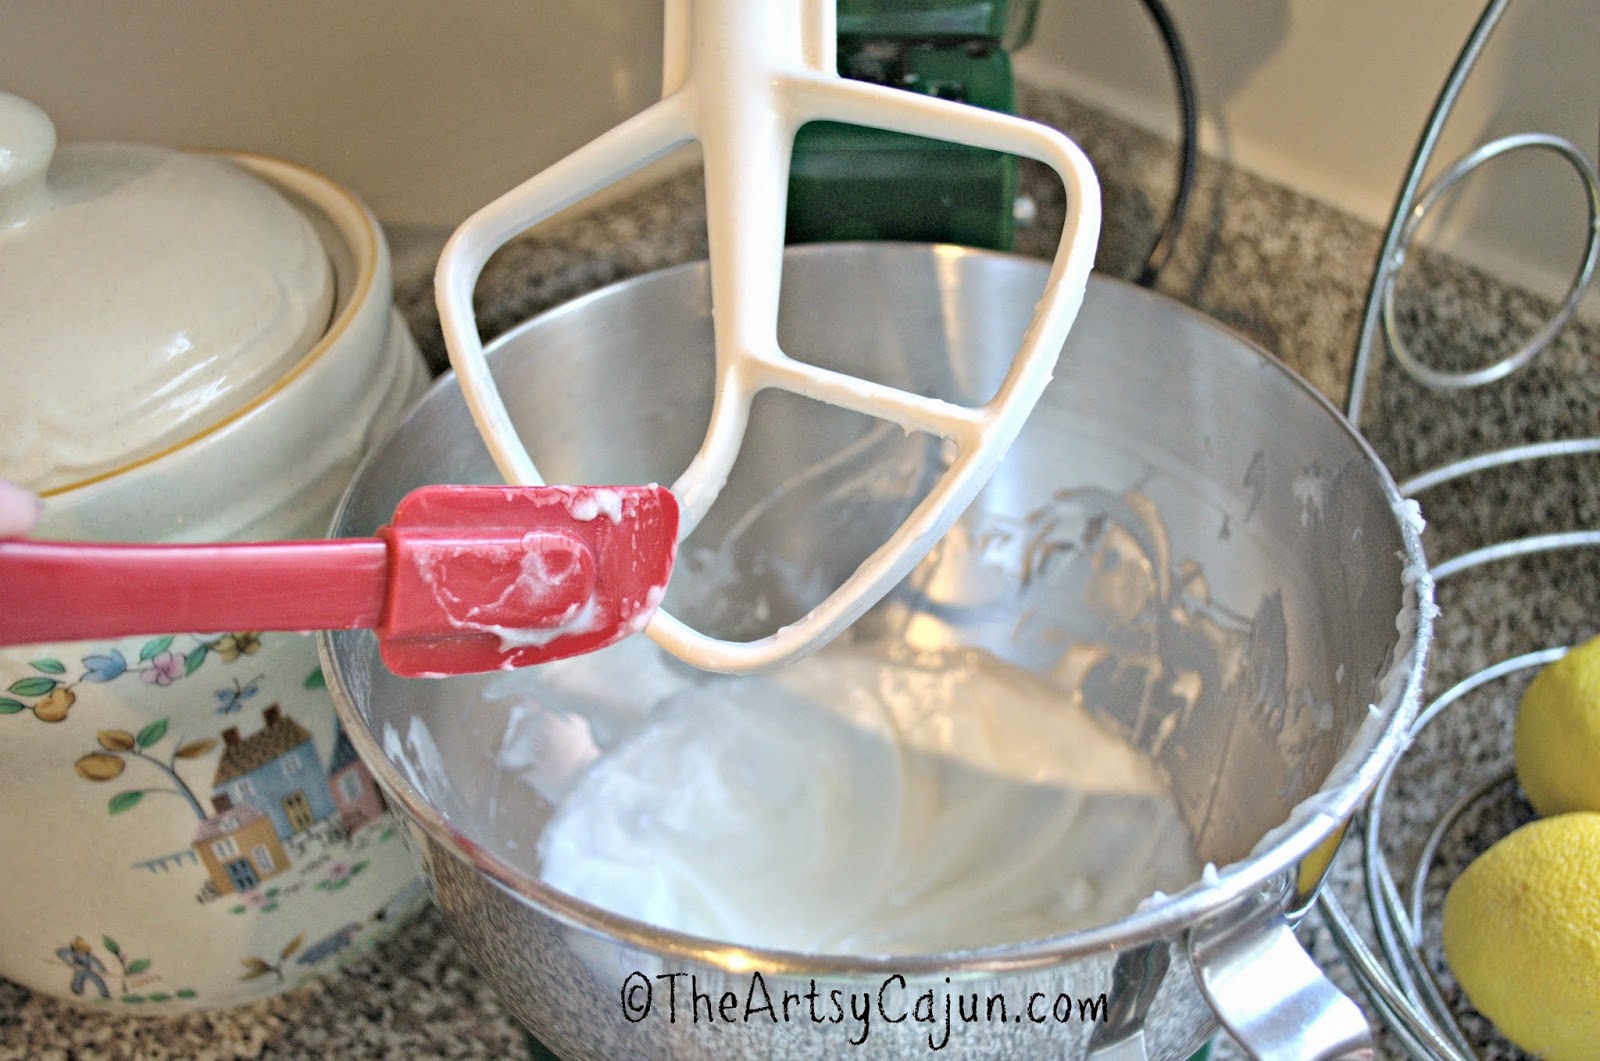
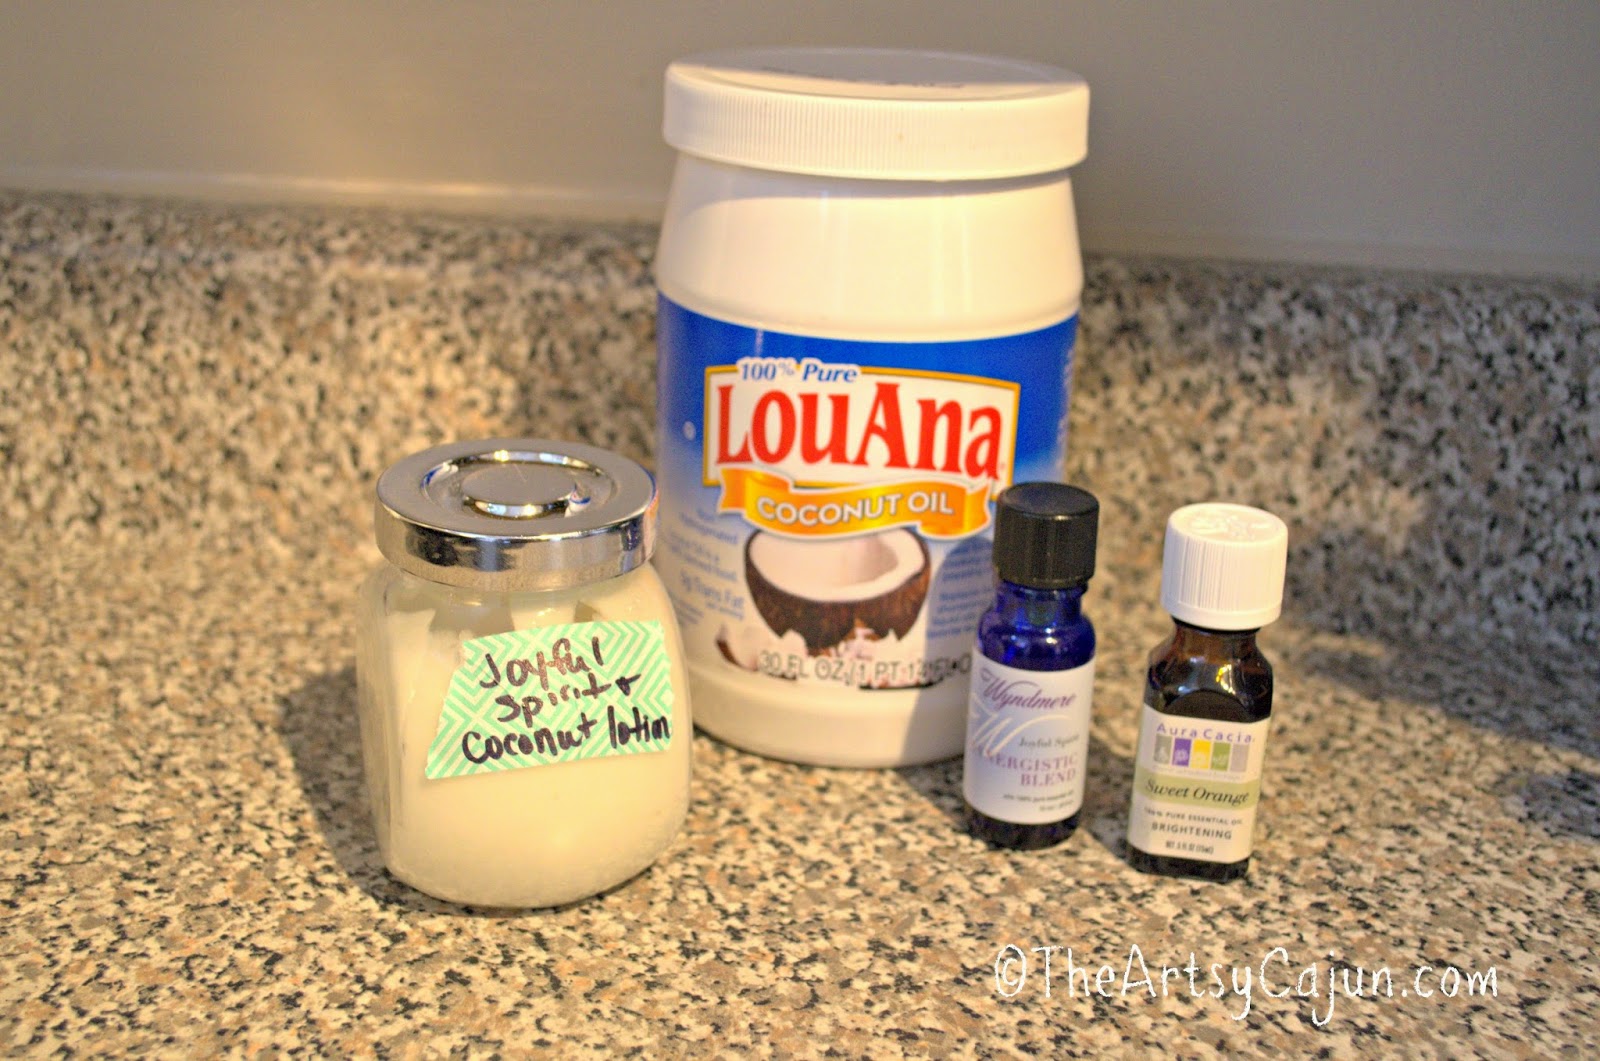
The thing was, it wasn't really a recipe, it's just basically smearing the stuff on you. I didn't really want it in oil form, so I decided to whip it for about 30 minutes to make it a lotion of sorts. I used 1/2 cup of oil.

I also wanted to incorporate essential oils into it, because why not?  So I threw in about 3 drops of each while it was mixing. Y'all, this is soooooo amazing! It does stay oily for a while on your skin if you put too much. And although it looks like a solid, as soon as it hits your skin, it turns to oil, so remember a little goes a long way!

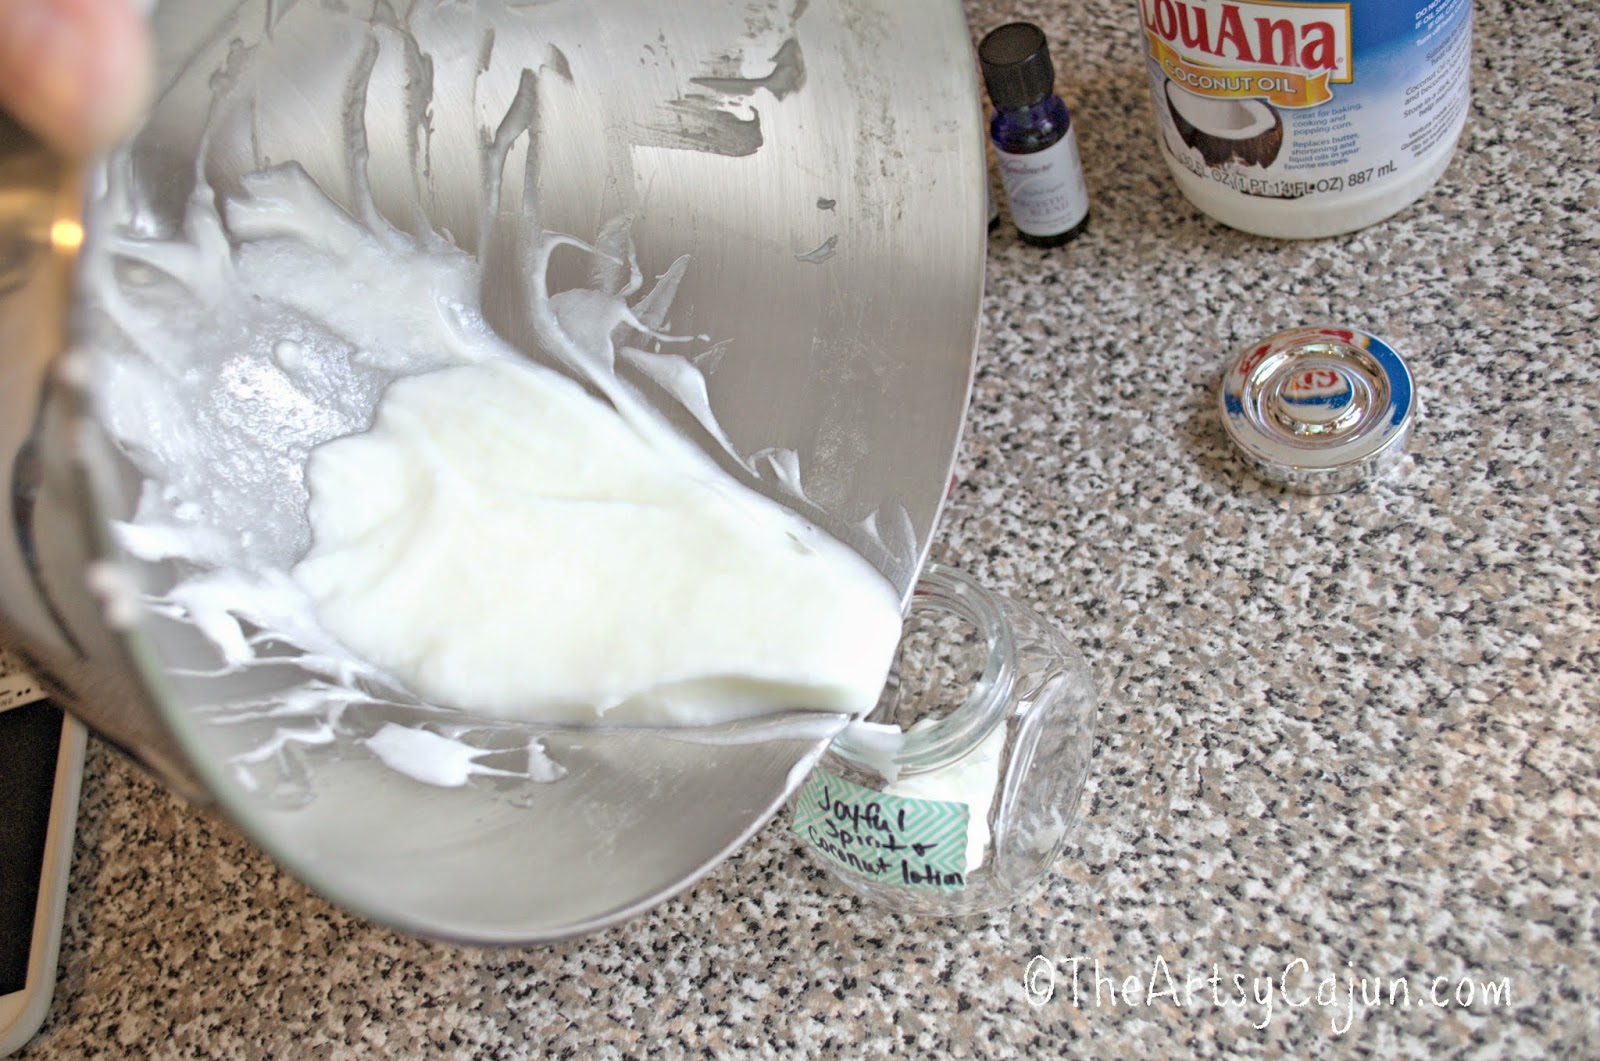
Basically, you just put how much you want in there, mix it at medium speed for like 30 minutes. You can do it as long as you want, but I found adding the oils make it more oily texture, and I wanted whipped. Again, finding the cheap little jars at IKEA was perfect for this and if you wanted to give some as gifts!

I hope you guys at least give this a try. And, if you find you don't like it, try using the coconut oil instead of vegetable oil in your cooking, it's delicious!


Oct 8, 2014

Making Stress Away Essential Oil Bath Salts

Y'all, I love a good soak. Nothing calms me, de-stresses me, or makes my muscles feel better than relaxing in the tub with a good book, (ahem or Nexflix streaming Gilmore Girls 24/7).

So, wanting to take it further than just bubbles, I wanted something that was good for me.  After checking out Pinterest, and all of the crunchy mama's blogs, I knew that a bath salt/ foam bath was exactly what I needed! I'd heard a couple mention the Aura Cacia brand, so I took off to the local Whole Foods looking for them, purchased them, used them that night, and  I fell in love with the product, but not the $2 each price tag. Since I have a ton of oils, I went out and purchased the Epsom salt to make my own!

Here's the recipe for the bath salt/foam bath:

2 cups Epsom Salt
1/2 cup sea salt
1 cup baking soda
15-20 drops of essential oils
1-2 drops food coloring(optional)


Now, I wanted a nice stress relieving bath, so I searched for the oils that said they were for stress relief. I added my own recipe into the salt mixture:


10 drops of lavender oil
5 drops of eucalyptus oil
5 drops rosemary oil
5 drops tea tree oil

Directions: Put all salts & powders in large bowl, mix up. Add essential oils and food coloring into bowl, mix thoroughly, and enjoy!

I LOVE this recipe! I've probably made it 3 times and use it up within a week. The easiest part is, you can store it in anything! I found the small jars at IKEA for super cheap, but I find they are better for giving the foam bath away rather than keeping for yourself. So I store mine in a Ziploc gallon bag. That way, I can make a ton & it will last me!

This is an inexpensive product also. Yes, you will have to spend $5-$10 or higher on your essential oils, depending on the brand and where you buy them. And the Epsom salt is between $5-$10 also. But once you have them, the only thing you will have to repurchase is the salts. The oils will last a long while. AND, it's definitely cheaper than buying it premade.

Plus, they make great gifts! Just make sure the recipient isn't allergic to any of the oils first!


However, this salt, so it will dry out your skin. I had to find a healthy alternative to lotion if I wanted to use this more than once a month. So, stay tuned tomorrow for my recipe for that!

Do use any sort of bubble bath/ bath salts to destress? Comment below!
Oct 7, 2014

Things that get you unfollowed quick, fast and in a hurry.


 I love bloglovin', like- BIG LOVE. It's this website where you can "Follow" some one's blog, and everyday that they post, it will show up on your news feed! You can catch up on all your favorite blogger pals without having to click (and remember) every one's web address! Sounds like heaven right? Nope, not quite. There are things that make it a little too easy for you to follow someone.  Everyone uses their Bloglovin' in giveaways and I end up with almost 500 blogs that I'm following on Bloglovin'... that's just nuts!

So, this weekend, I've went in and created a couple different groups and sorted everyone in them. Did you know you could do this? It's super easy! You mouse over your photo, and click "Edit blogs you follow". I then created groups, and went down the list and filed everyone in! My groups are, Prayerful Bloggers, Daily Reads, Favorites, then left the Unsorted ones. This makes it sooooo much easier to keep up with your favorites! (you know you have favorites, too, don't kid yourself)

Now, as I'm going through the unsorted blogs,  I see quite a few blogs I don't remember off the top of my head. I click on their site, to you know, give them a fighting chance. My blog sorting was like Hunger Games style competition, and I had an itchy trigger...errrr.. mouse finger. There also may or may not have been Eye of the Tiger playing loudly in my head.  Anyway, there were quite a few trends I noticed that just grinds my gears and folks were quickly "Unfollowed" when the red flag would go up. This is what I call red flags:


  • Your name is NO WHERE on your blog. I'm sorry, but if it's not on your little bio blurb under your photo on the main page, that's a half red flag. And if I take the time to click on your "About Me" section, and your name STILL isn't on there, unfollow! I'm not going to want to leave comments and/or email you and not know your name.
  • If you don't have an email action button, OR if your email isn't on your "Contact" section of your blog... unfollow. I hate to find a really great blog, and want to email them, and I can't find an email! And FYI, the more I have to search for your email address, the less I actually want to email you. Make it easy for folks to get ahold to you! 
  • If you only post once every 3 months... unfollow. I understand everyone gets busy. Life seems to be going at 100mph for us all, and sometimes we just need a break, I feel ya on that. At the very least, leave your readers a post saying so! Don't just drop off the face of the earth, leaving your readers to wonder if you will ever come back to your blog!
  • Your blog becomes ALLLLL about one certain thing, it could be your kid, your pets, your job, I guess if there isn't any variety... unfollow. 
  • If you are a Negative Nancy on every.single.post... unfollow.
  • When your blog has so much ads, (company ads, not fellow blogger ads) that I can barely focus on your actual post... unfollow. I know people want to make money off of the ads, but if it's too cluttered then I won't even go to your blog much less click on the ads so you can get paid.
  • When your blog becomes nothing but a billboard, (When every post is trying to sell me something because companies want to use your blog as advertising)... unfollow.
  • Every post is either a giveaway or the posts that are shallow and only published so you can get more clicks, followers, views and pins on Pinterest... unfollow.
And that's about it! That's enough pet peeves, right? I know that sometimes, we get caught up in picking the right font for our blog, or posting the right pictures, and can forget the whole reason we started blogs in the first place. But, at the very least, put your name and email accessible for those that want to contact you!

Now, how's your day going? 


Sep 10, 2014

Bread and Wine Link Up, The one with Paula Dean

I know what you're thinking, but the fact remains- that lady can cook! For a Southern girl, her cookbooks are like the fabled Holy Grail. They are your go-to-no-nonsense-don't-even-look-at-the-calories type of recipes.

So, our first Thanksgiving after moving to Hawaii, I wanted to make a really big Thanksgiving meal for my brother, the Mr., and some of our friends. I needed a good green bean casserole recipe, and Mrs. Paula Dean did not disappoint!

Check it out here,

Via PaulaDean.com

Ingredients 

Pinch Paula Deen’s House Seasoning

1   2.8-ounce can French-fried onion rings
1   10 3/4-ounce can cream of mushroom soup
3 cups chicken broth
2 cups sliced green beans
1/2 cup sliced fresh mushrooms
1/2 cup diced onions
1/3   stick butter
1 cup grated Cheddar cheese

Directions

Preheat the oven to 350 degrees.  Melt the butter in a large skillet.  Saute the onions and mushrooms in the butter. Boil green beans in chicken broth for 10 minutes and drain. Add the green beans, mushroom soup, onion rings, and House Seasoning to taste.  Stir well.  Pour into a greased 1 1/2-quart baking dish.  Bake for 20 minutes, then top the casserole with the Cheddar and bake for 10 minutes longer, or until the casserole is hot and cheese is melted.


Y'all, this is a winner! This is one that you take the time to pull out your recipe box and copy the recipe all nice and pretty. You will be making this for years to come! I do try to switch out to less fat ingredients, but that's completely optional!

Today, I link up my go-to side dish with Rachel from Oh Simple Thoughts for her Bread & Wine project link up! So much fun!


Oh, Simple Thoughts.

What are some of your go-to side dishes? Please link up with us and share! I'm on the hunt for new recipes! 
Sep 3, 2014

A little hopping and creamer talk

Today, I've hopped over to another blog! You can find me at Prayerful Bloggers, asking the question, Are your circle of relationships beneficial? I've posted on this topic before, but it remains one of my most popular posts, and it needs to be shared even more!

But, here on The Artsy Cajun, I wanted to share my new love... coffee creamer! Well, more specifically, homemade healthy coffee creamer!


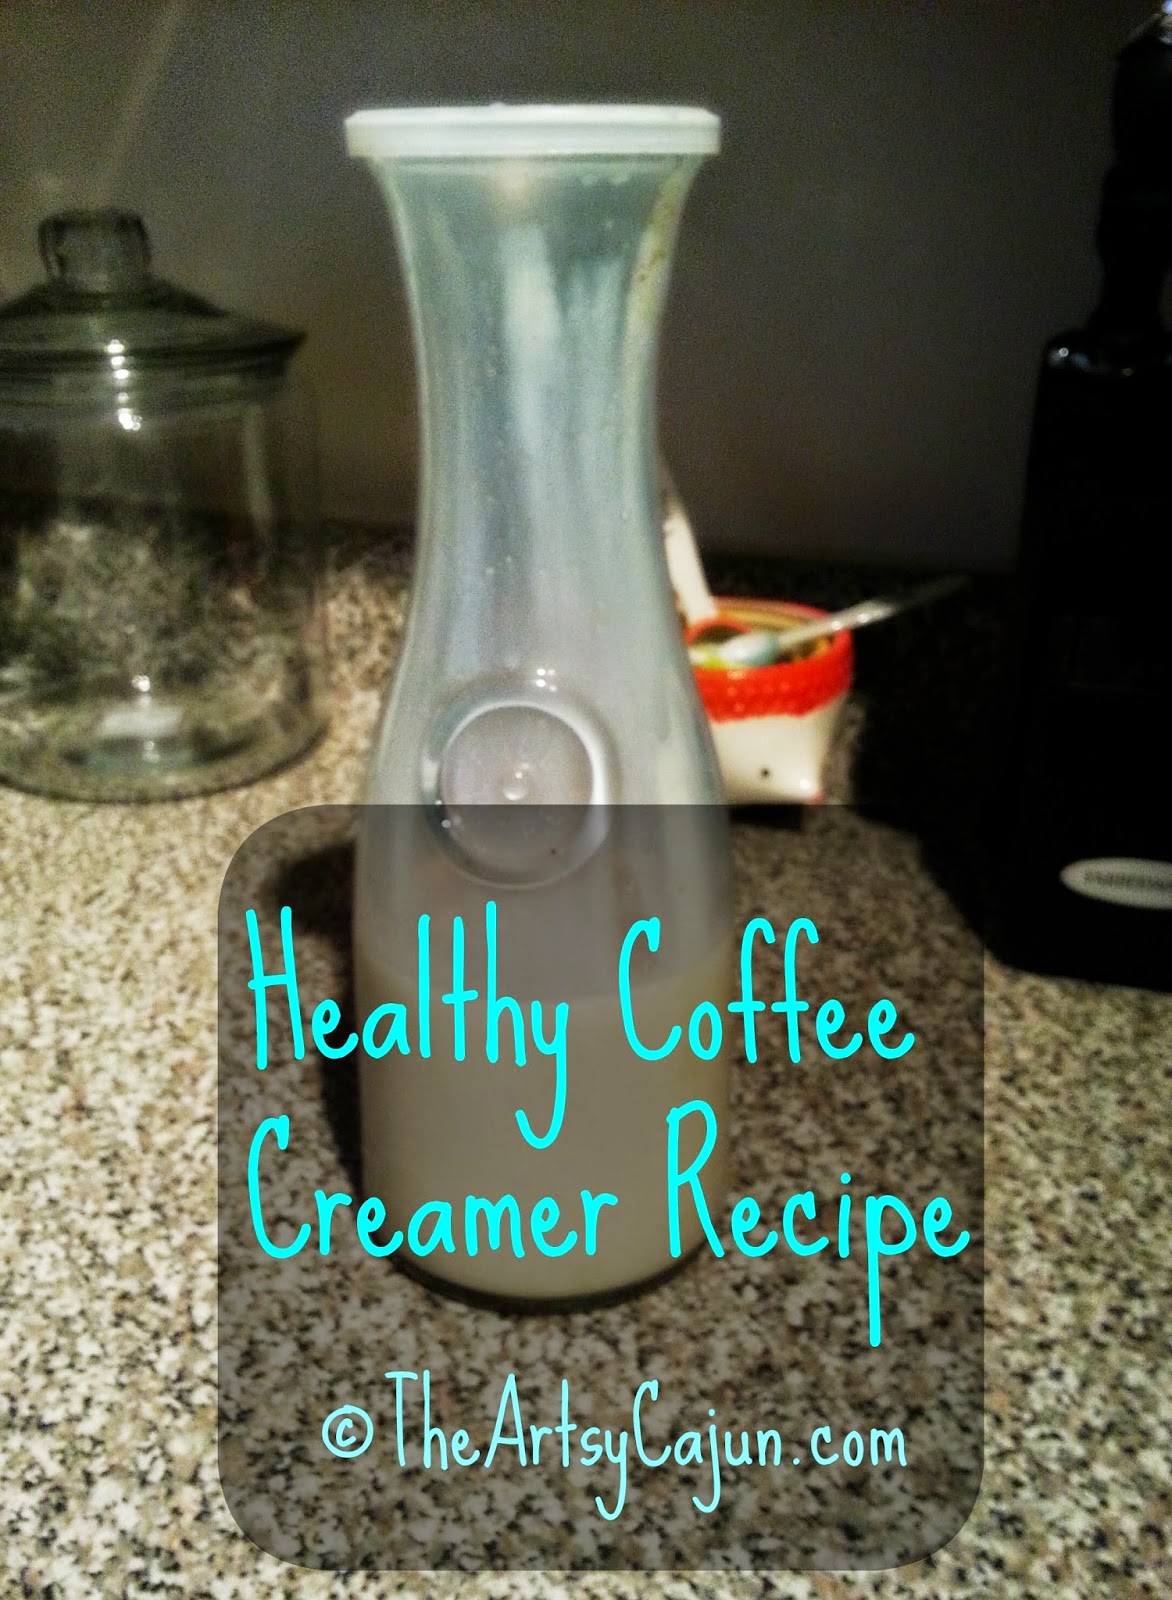
The beginning of this year, my doctor told me to clean up my diet due to my high cholesterol, (thanks parents.) So I began to look at everything, and pay special attention to the ingredients. If I couldn't pronounce it, I didn't want it in my body. Coffee creamer was a HUGE no-no according to my doc. It is basically oily milk, but not even milk because it clearly says on the package, "Non-Dairy." There was no way I was going to drink my coffee black, so I began to research may different recipes on this concept. It was worth a shot. Plus, I'd get to buy (and use) one of the cute glass milk jugs I'd eyed at Target the week before!

I managed to find a couple recipes, but just ended up adjusting the recipes to what I preferred. Which is simple....


Healthy Coffee Creamer Recipe

1 can Sweetened Condensed Milk, Low fat
Equal part milk of your choice, I use low fat milk
1 tbsp vanilla

Now, I love pumpkin anything, so I add 1 tbsp pumpkin spice seasoning to the mix. I've noticed a couple of recipes that told you to add pureed pumpkin into the creamer, but I find it makes it a bit too lumpy for me, so I'll just stick to the seasonings for now.

Y'all, this stuff tastes delicious! You know everything that's going into it, so you can control what chemicals you are ingesting. Not to mention it cuts the calories to a third of what is in the premade creamers!

Now, I'm not saying this is the only thing contributing to my weight loss, but just by using this recipe and Truvia instead of sugar in my 2 cups of coffee daily has cut out 500 calories from my diet EVERY.SINGLE.DAY! Do you know how much it takes to burn off 500 calories? Livestrong.com says this- " 140-pound person burns 500 calories on an elliptical in just under 40 minutes"


You are welcome.
Sep 2, 2014

DIY, How to cheaply recover chairs


You all have them, the ugly chairs that came with the table years ago. If you're like me, there are no cleaning products on the earth that can get these babies looking like new again. That wasn't acceptable to me!

This started when I repainted my table aka desk. The chairs were just down right ugly and I wanted new ones. Turns out, it's hard to find the perfect chair height and comfort level. I decided I needed extra support and some snazzy new fabric to reupholster them. MUCH cheaper option than purchasing new chairs!

I took off to Joann Fabrics and found a heavy cotton knit. Sort of between regular quilting fabric and a blue jean. I didn't purchase the fancy upholstery fabric because those are so expensive! And, honestly, who knows when I will get the itch to change the colors again, so I went with the cheaper option. I purchased two yards of the fabric, one yard for each chair.


Not only did I want to change the fabric, but I wanted more support as well. You'll need to measure the seat part of the chair to make sure you buy enough foam. I bought the 2" high density foam. Or, if the chair's cushion is still okay, you can skip this part.

Now, when you get home, gather all supplies:
Staple gun & staples
scissors
fabric
foam (if applicable)
measuring tape
screw driver


Chances are, your chair's seat is screwed in to the chair frame. Find the 4 screws, and take them out. If you want, you can pull off the old fabric, but I just left mine.


Lay out the fabric on the floor, with the good side facing down. You want the fabric at least 4" longer on each side of the seat. .


Next, put the foam in place. if you need to cut the foam, measure it exactly the same size as your seat. I made the foam wider on one chair than the other, I wasn't sure which one would be more comfortable with my back, but you should be able to have it the same size as your seat.


After the foam is centered on top of the fabric, put the seat, face down, on the foam.


Then, gently pull one side of the fabric to the top of the seat and staple to the seat.


Try not to slide this all around on the floor, but go to the opposite side of what you just stapled, and pull that to the top to staple. This is the tricky part, you want a snug pull, but you don't want to pull the fabric so hard that it squishes the foam too much. You don't want any ripples or unnatural looking bubbles in the foam when you flip it over. If you've pulled it too taught, grab a flat head screw driver and pop the staples out, try stapling the fabric with a little less pull.


Then, I folded the ends kind of like you would when wrapping a present. Pull the rest of the fabric, on that side, up and staple.


Go directly to the opposite side and do the same.

Should be looking good by this point! Make sure the fabric is taught, but not overly.


I didn't add the extra coverage fabric to mine, but if you want it to be completely finished and professional looking, add a piece of fabric that will cover the center. Just cut it out to fit over the edges and staple it to the chair seat. If it looks good, go ahead and screw the seat back on the chair frame!


And voila! You're done!

 $4.99 per foam cushion
 $5.99 per yard of fabric
Total cost- $21.96!

Plus, if you download the Joann Fabric app on your phone, you can use their current coupons for a discount! If you are a little more of a planner, they also accept Hobby Lobby and Michael's coupons as long as they're similar!


What projects are you working on now?


Aug 6, 2014

Raspberry Macrons, Bread and Wine link up

Hi there! This is my first time linking up with Rachel from Oh Simple Thoughts for her Bread and Wine link up! This is what Rachel has to say about the link up, "The Bread & Wine Project is a recipe link up with a purpose. It is a link up about much more than food. The hope is that through this linking up we will push each other to use our homes as mission centers. That we will begin to view our homes, and dinner tables as safe places to bring people in and love them like Jesus."

Oh, Simple Thoughts.

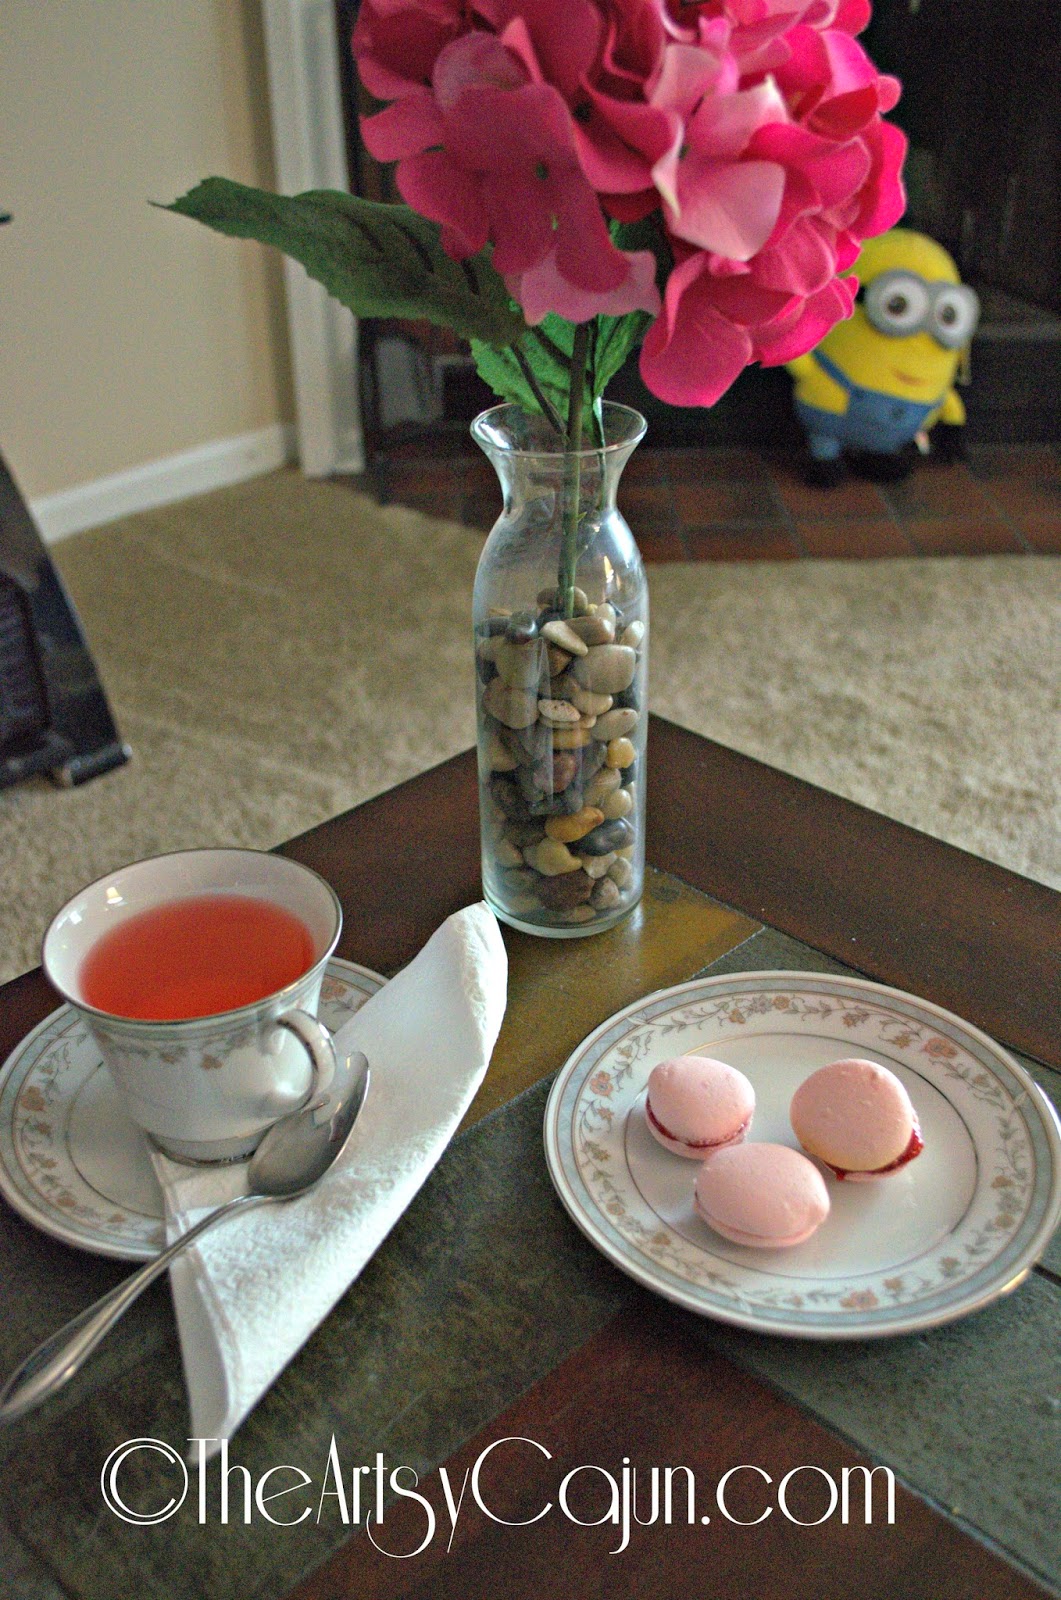
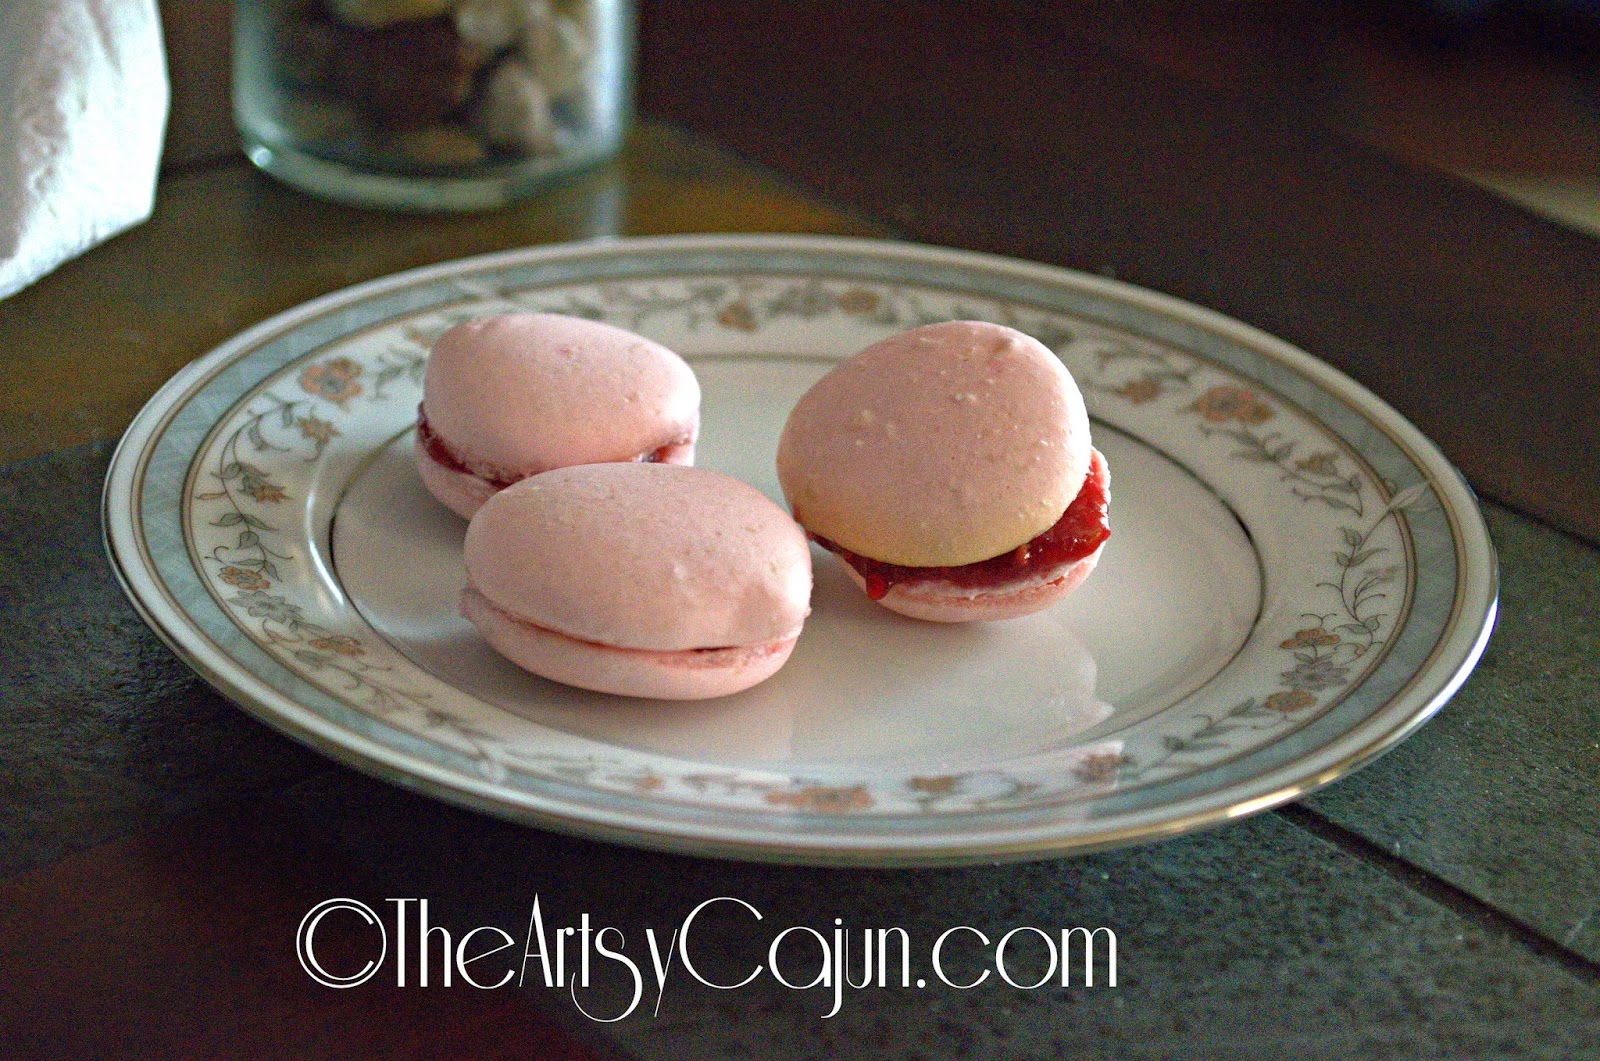
This week's prompt was Crowd Pleasing Dessert. So today, I wanted to share my macron recipe with you! I'll link up next week when I get back from vacation, but I just couldn't wait for you to see this recipe! I love these little things! And, I have to say, while we were in Europe, I tasted the "Official French macrons" and this recipe is really close to the official ones! It is a bit time consuming, but oh so worth it.


Ingredients for macron cookies:


3 egg whites
1/4 cup white granulated sugar
1-2/3 cup confectioners sugar
1 cup almond flour (or finely ground almonds)
Red food coloring


Directions


1. Line a baking sheet with a silicone baking mat, I use SilPlat.

2. Beat egg whites in the bowl of a stand mixer fitted with a whisk attachment until whites are foamy; beat in white sugar and continue beating until egg whites are glossy, fluffy, and hold soft peaks. Sift confectioners' sugar and ground almonds in a separate bowl and quickly fold the almond mixture into the egg whites, about 30 strokes.

3. Spoon a small amount of batter into a plastic bag with a small corner cut off and pipe a test disk of batter, about 1 1/2 inches in diameter, onto prepared baking sheet. If the disk of batter holds a peak instead of flattening immediately, gently fold the batter a few more times and retest.

4. When batter is mixed enough to flatten immediately into an even disk, spoon into a pastry bag fitted with a plain round tip. Pipe the batter onto the baking sheet in rounds, leaving space between the disks. Let the piped cookies stand out at room temperature until they form a hard skin on top, about 1 hour, or 15 minutes like I do.

5. Preheat oven to 285 degrees F (140 degrees C). Bake cookies until set but not browned, about 10 minutes; let cookies cool completely before filling.


For the filling, you can use anything you wish! Even your favorite jam or jelly. In this recipe, I bought a qt. of fresh raspberries and boiled them down with 2tbsp of water and 1 cup of sugar. I boiled on medium high heat for about 20 minutes until it starts to gel. I waited until it was cool, and then spooned them onto a cookie and sandwiched it with another cookie.

SO delicious! This one is really rich in sweet flavor, so just a couple for each person should work well!

I love sharing sweets with company. It's such a nice way to end an evening and send everyone off with a sugar rush!

What is your favorite crowd pleasing dessert? Comment below, and link up with us! 


Aug 5, 2014

Covering cork boards with fabric


  Hey y'all! Let me show you a super easy way to spruce up your work space! Ok, the worst part about this DIY is.... having to go to IKEA. Or, I should say, having to go to IKEA and not walking out with millions of things but just cork boards! I adore that store! Actually, you can get the cork boards from whereever you find them, but at least with this DIY, you can tell your Hubs you just have to go to IKEA for the right material! Wink wink, nudge nudge.

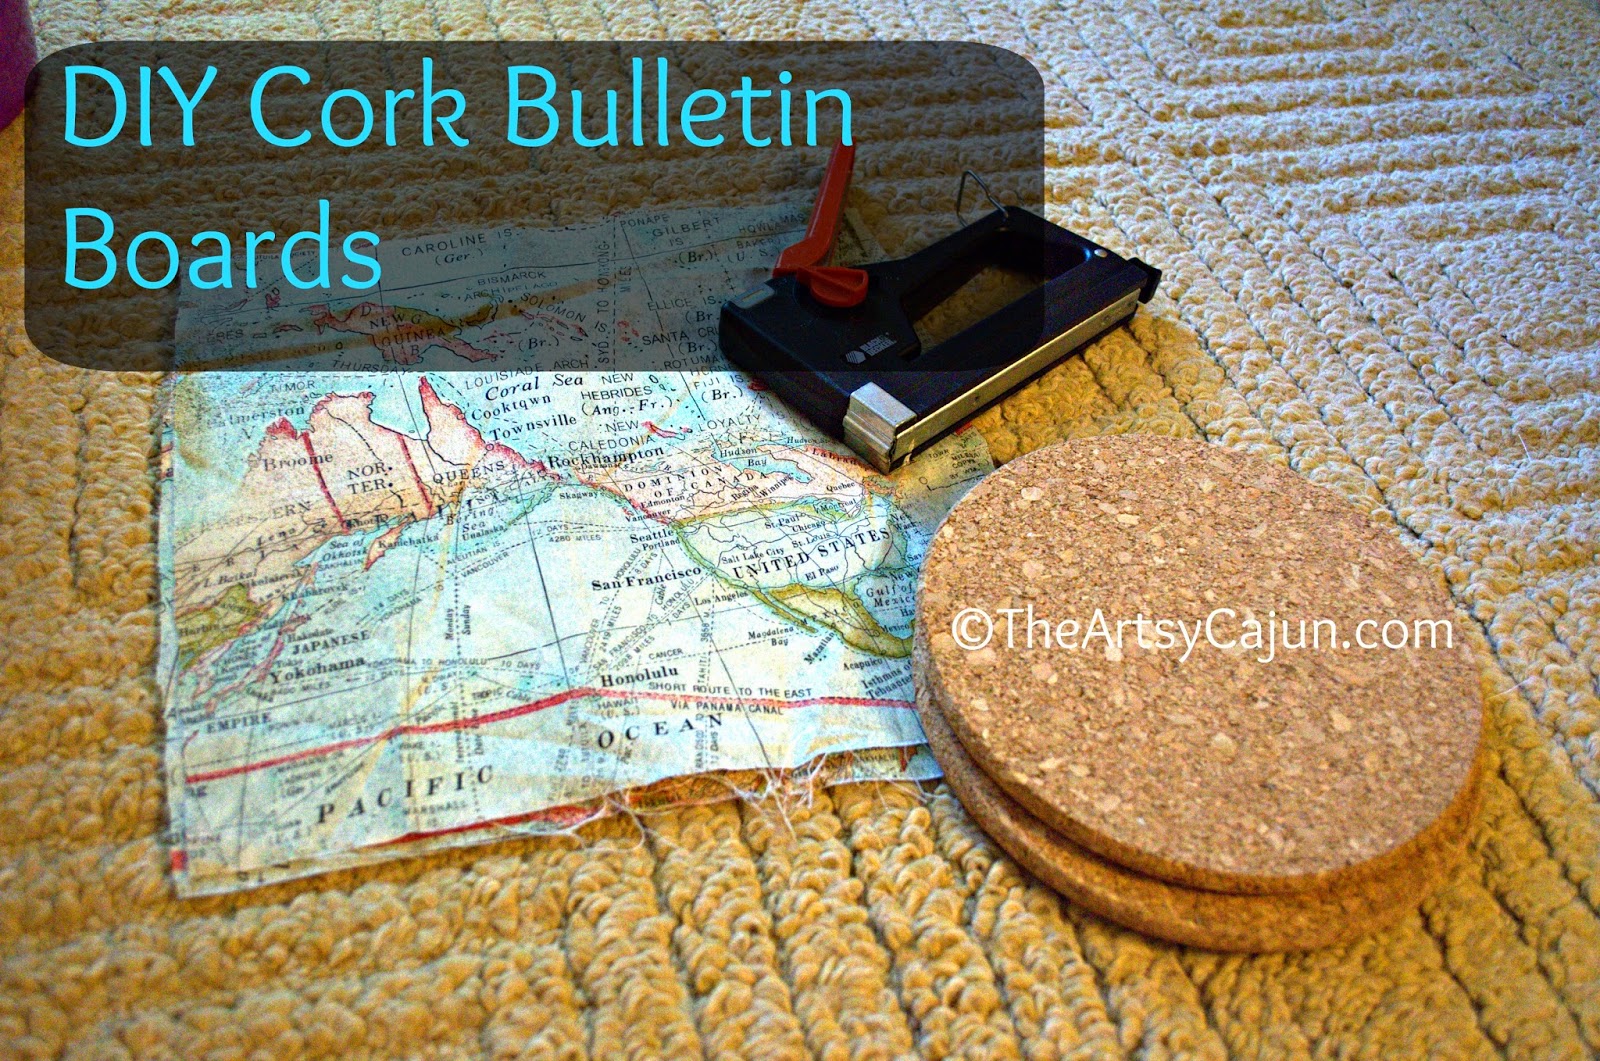
OK, so supplies you will need,

1/2 yard fabric of your choice
3 cork boards
Staple gun & staples
pencil
scissors


Let me say that I used a staple gun, like the heavy duty ones. I'm pretty sure you could just use a regular stapler or even a strong glue, like E-6000 if you wanted. I just used the heavy duty stapler because I knew I'd be using these as memo boards and I wanted to make sure that fabric stayed right where I put it.


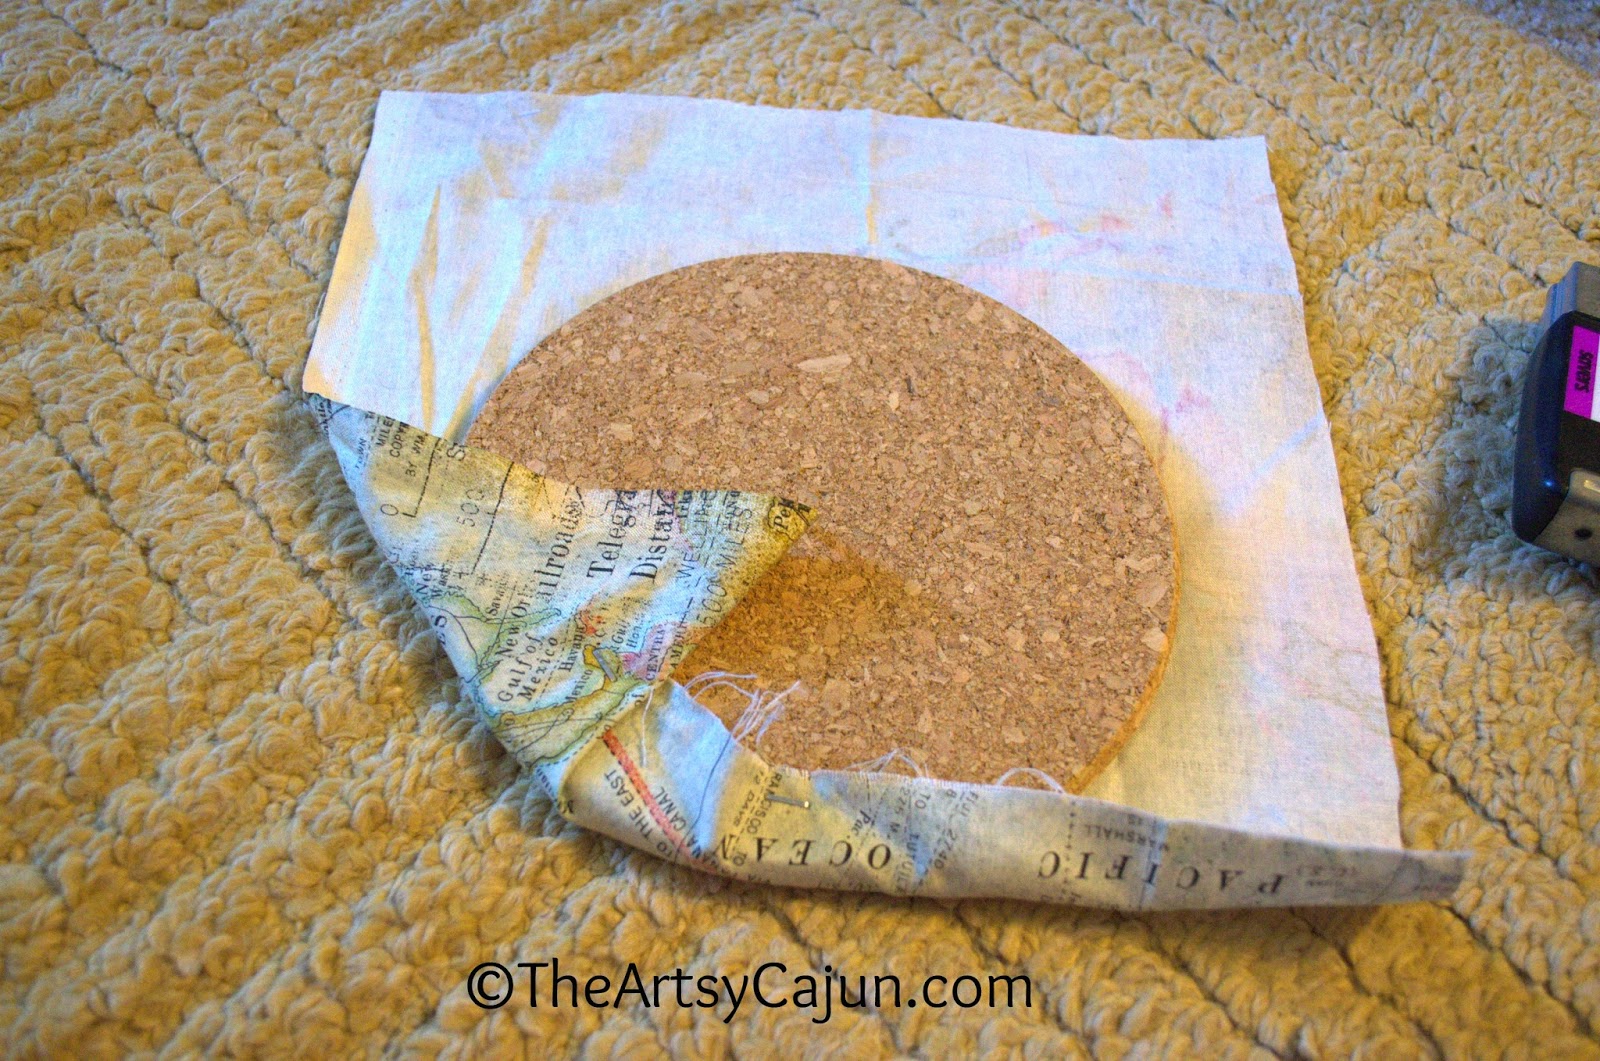
Now, basically lay out the fabric on the floor, good side up. I placed the cork boards where I wanted them, and traced around them with a pencil.

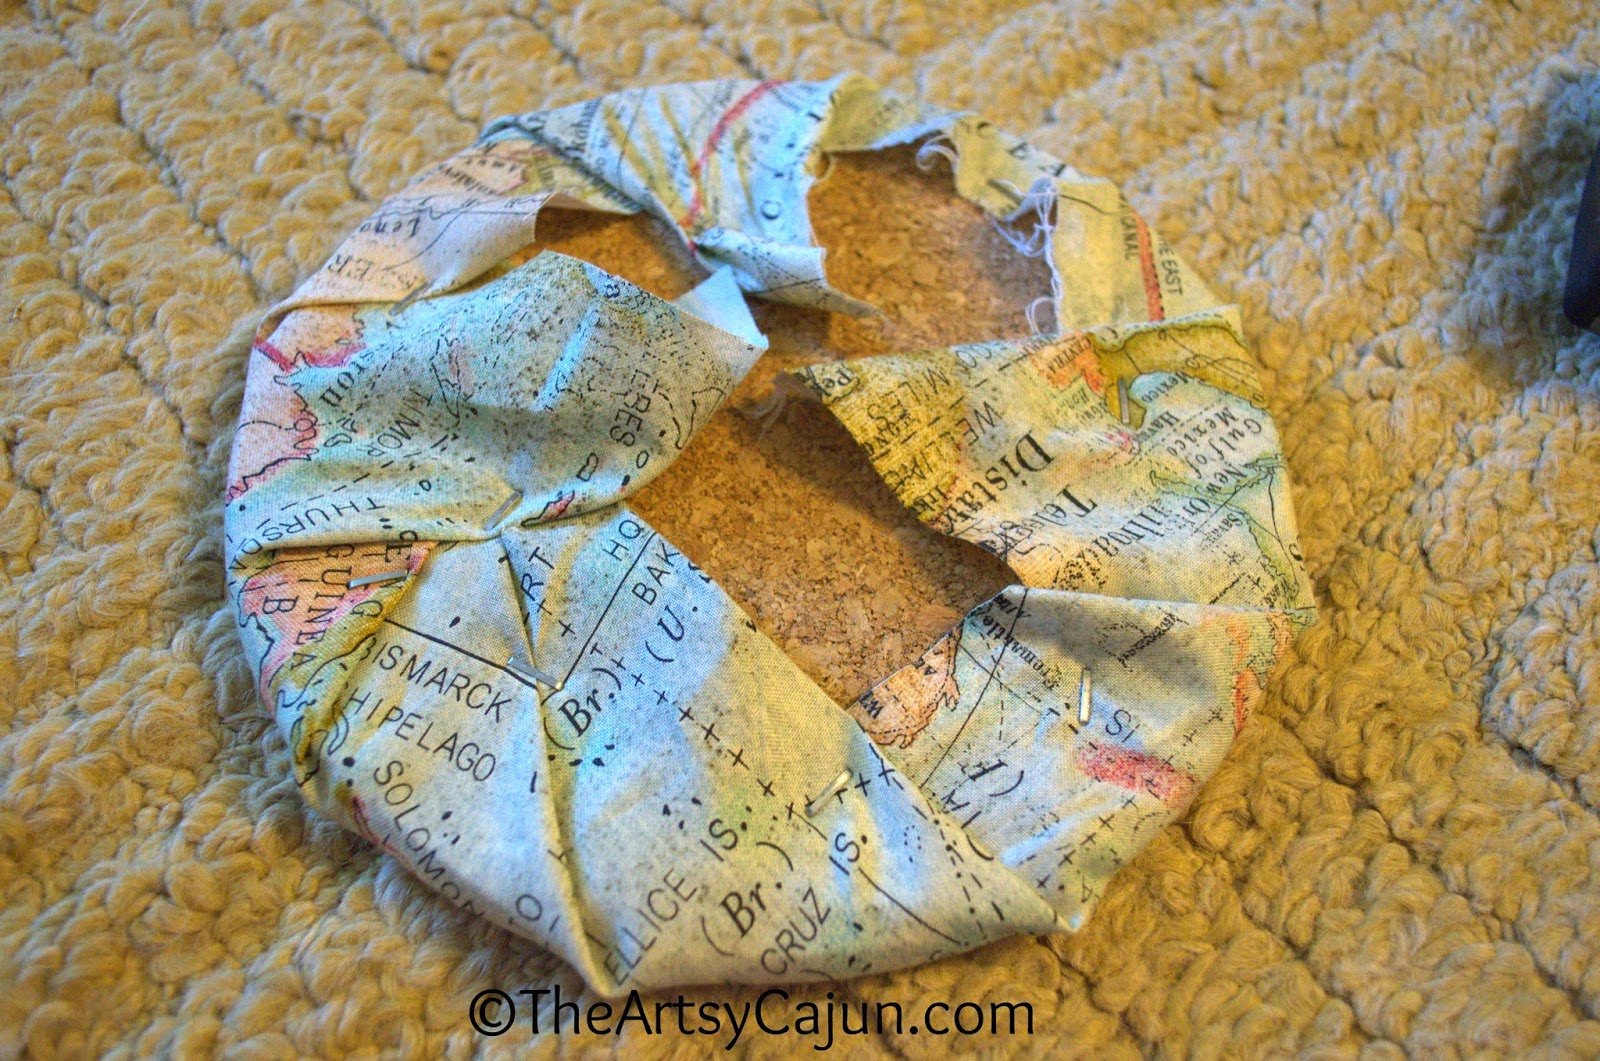
Next, I took the scissors and cut 2 inches away from the cork circle. You want to give yourself 2 inches of fabric that will be wrapping around the back of the board. Make sense?


Then, I put the fabric, good side facing down, and centered the cork board on top. I started stapling on one side, and went directly to the other side and pulled tight. I continued this process of pulling, folding and stapling all the way around. This doesn't have to be perfect, as you can tell from the messy back of mine. No one will see it, unless you do a blog post...


Ginny getting needy for attention...

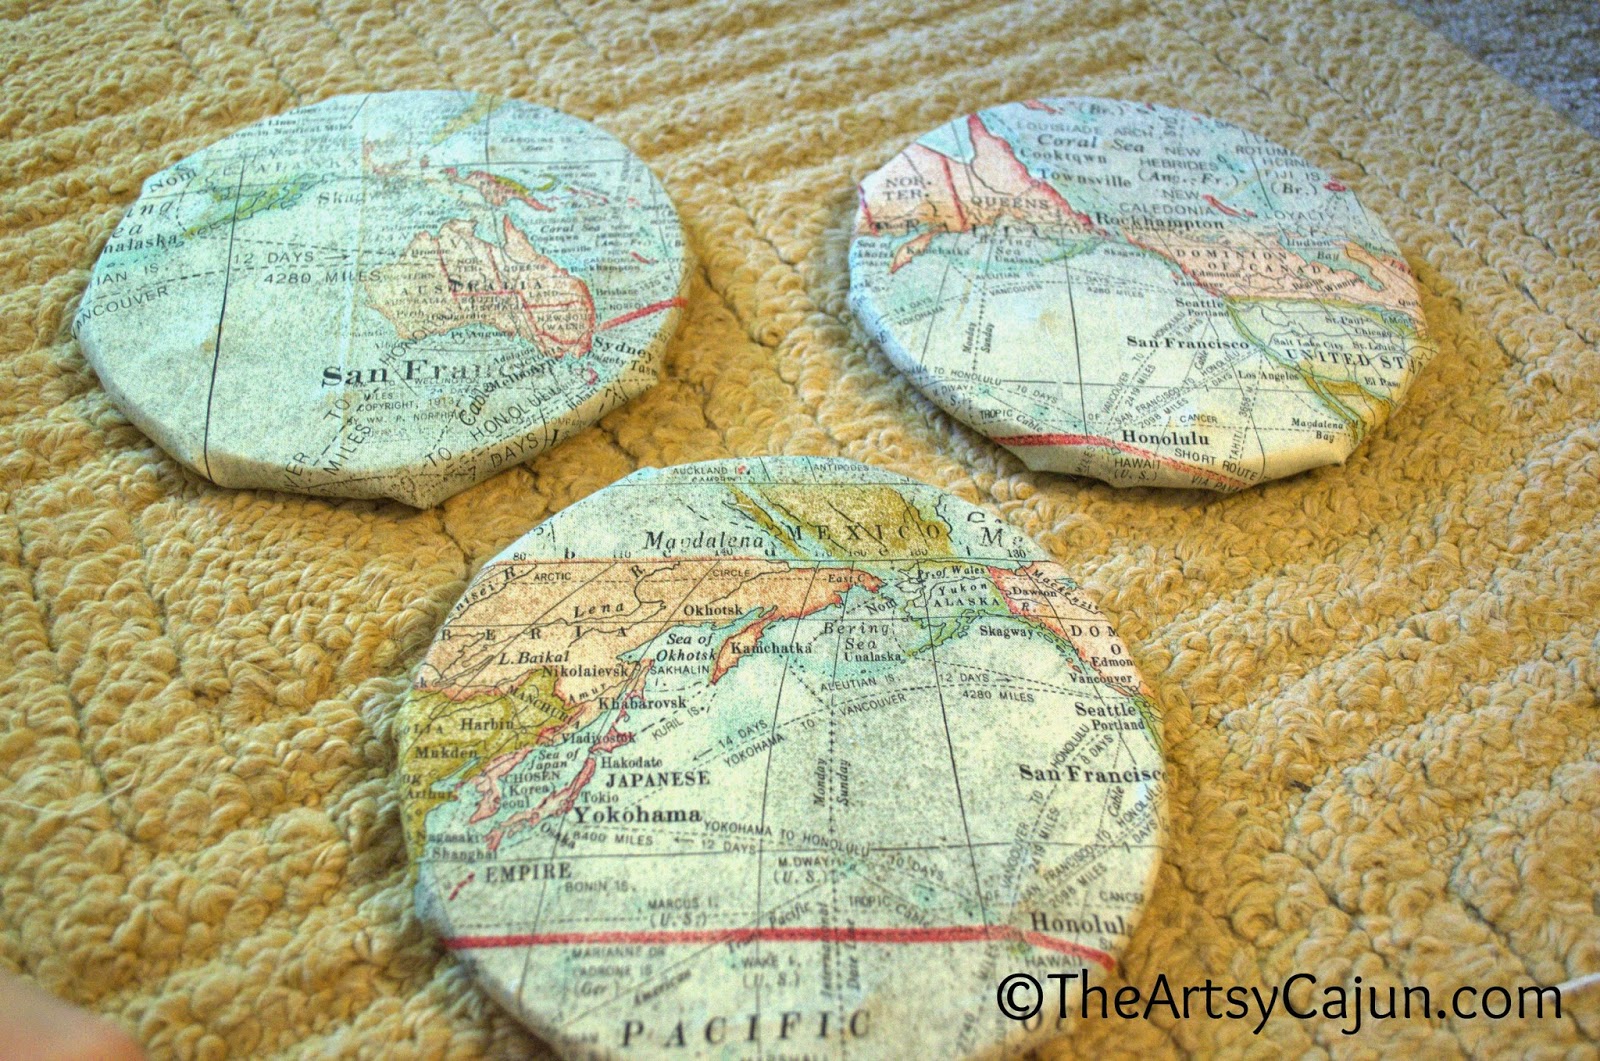
And there you have it! I just used a small nail and nailed those babies directly to the wall. I also use my sewing straight pens as thumbtacks, but you can really use whatever you want.


This was so easy and cheap! It can make a big impact on your space with minimal damage to your wallet! The best part is, I can always change the fabric when I get tired of this one.


What easy and cheap ways have you found to decorate your nest? Comment below!