Showing posts with label Recipes. Show all posts
Jan 30, 2014

The Easiest Pad Thai You Will Ever Make


We LOVE Pad Thai. Just can't get enough of this stuff! In Hawaii, we had a small little Thai restaurant on the next block that was out of this world! The owners were extremely pleasant, and the intricate carved wooden art on the wall was candy for my eyes!  Since then, we compare all Thai food back to that little restaurant... until now.

I found the easiest way to make this and it actually tastes authentic! If you think you can't cook to save your life, check this out and wow your guests next time!

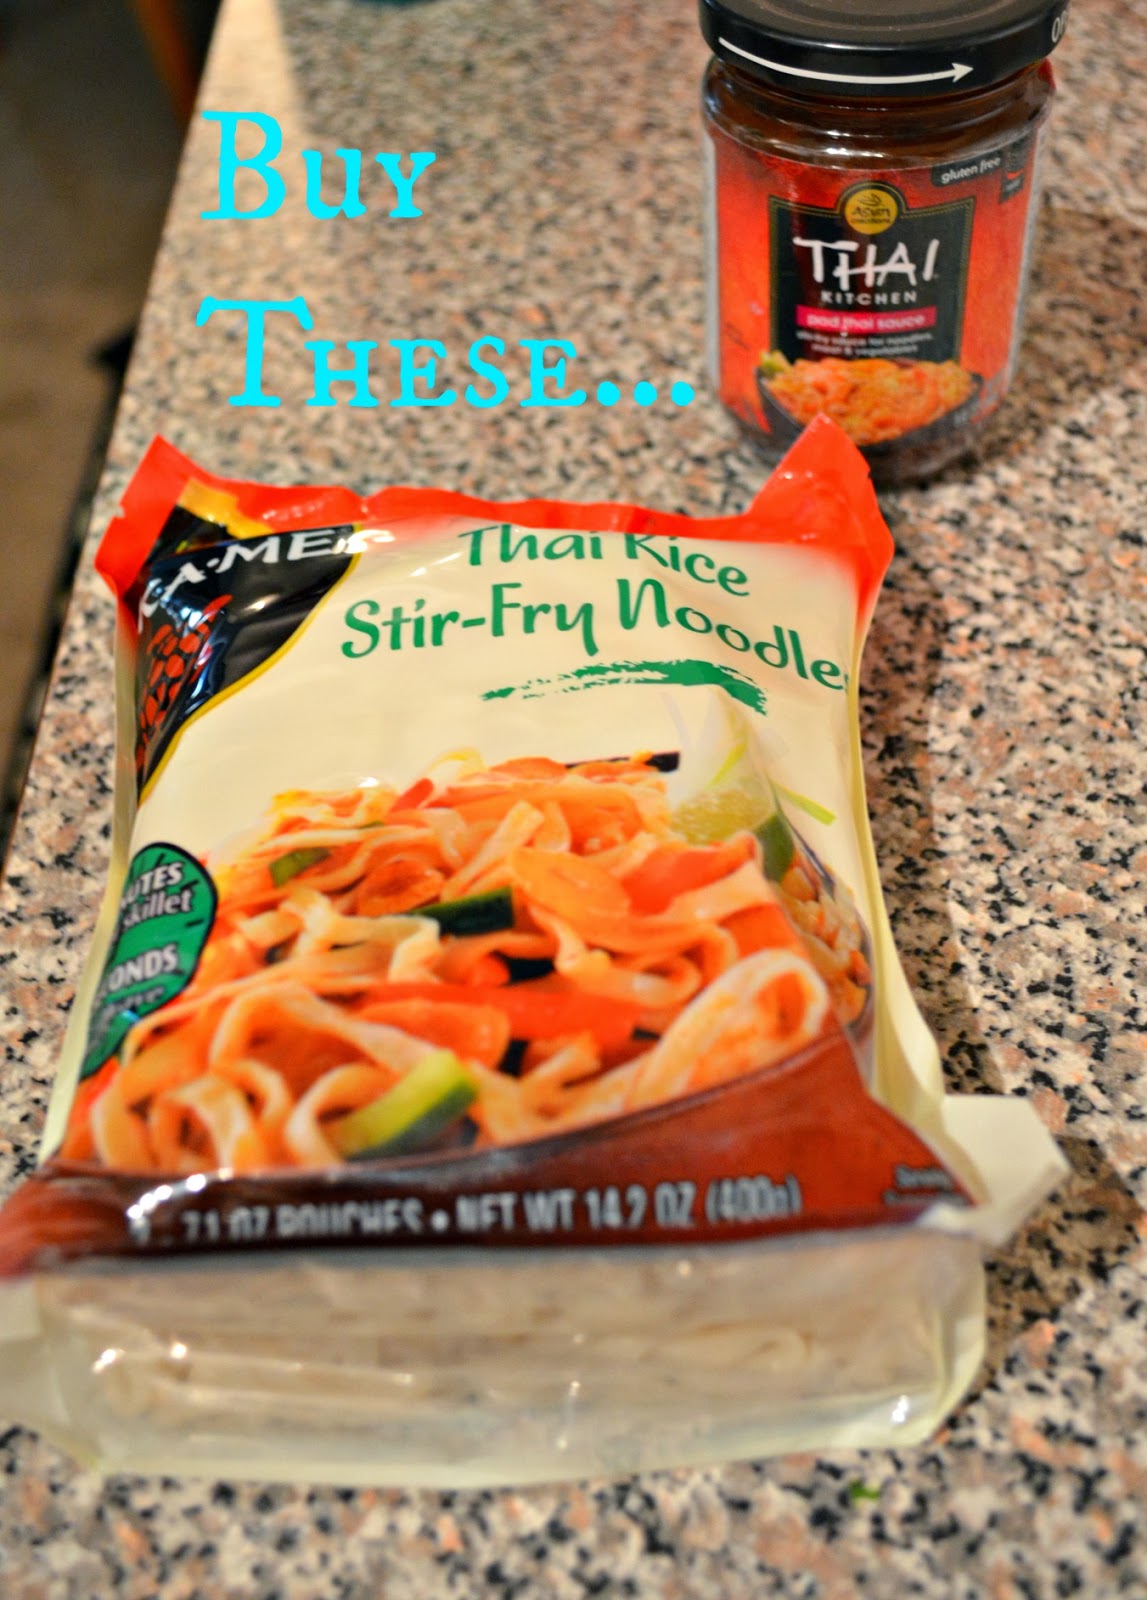
So, pretty much you buy the correct stuff, normally in the "Asian" section of your grocer. I think this brand is Asian Creations, Thai Kitchen. OK, so you buy the pre-cooked rice stir-fry noodles (don't know what they will actually be called if it's not this Asian Creation brand, so just look for all of those words that are underlined). Then you get the pad Thai sauce in the little jar, and chicken breasts! I added extra things in mine, you don't have to do it if you don't want to, but if you do- at the bottom of this post is the official looking recipe.

 
Get out a pan and put it on med-high heat, add 1 tbsp. of olive or vegetable oil to it, and you're going to add an egg and scramble until set. Don't over cook it! And remove from skillet.
 
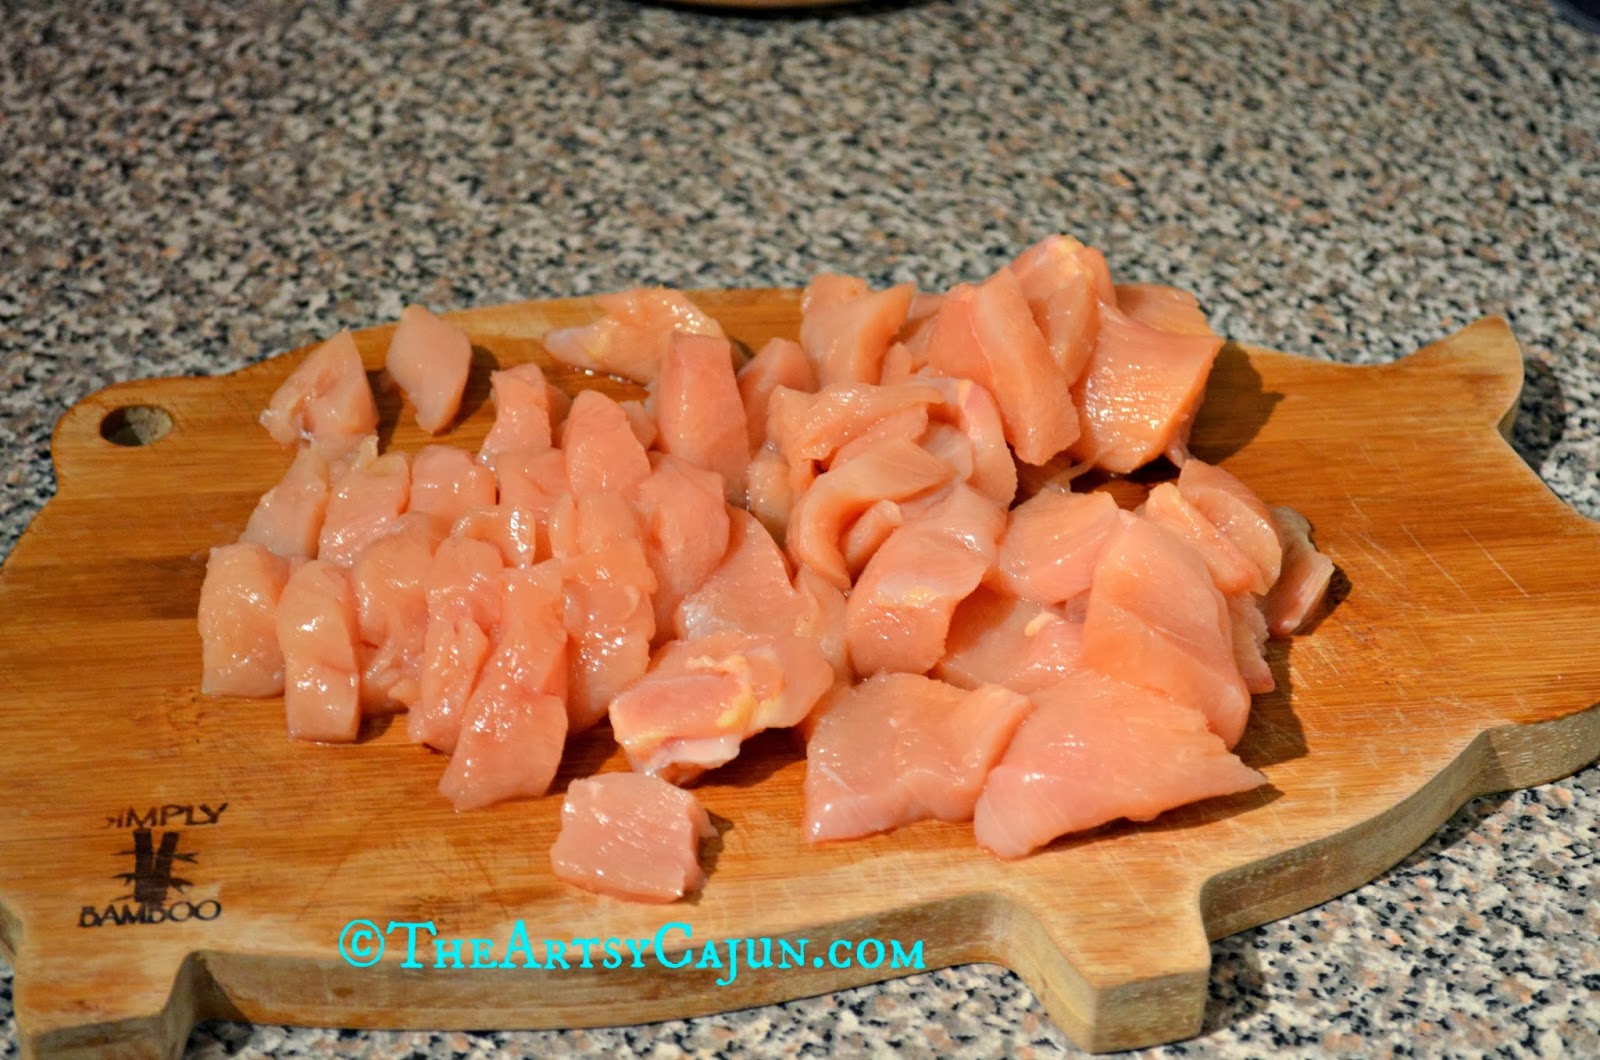
  Then you take your pound of boneless, skinless chicken breasts, cube them, add another tablespoon of olive oil to a pan and keep on med-high heat. I add salt and red pepper to the pot at this point, but you can add black pepper if you wish. I like things SPICAYYY!!
 
The Artsy Cajun- The Easiest Pad Thai You Will Ever Make
 
 
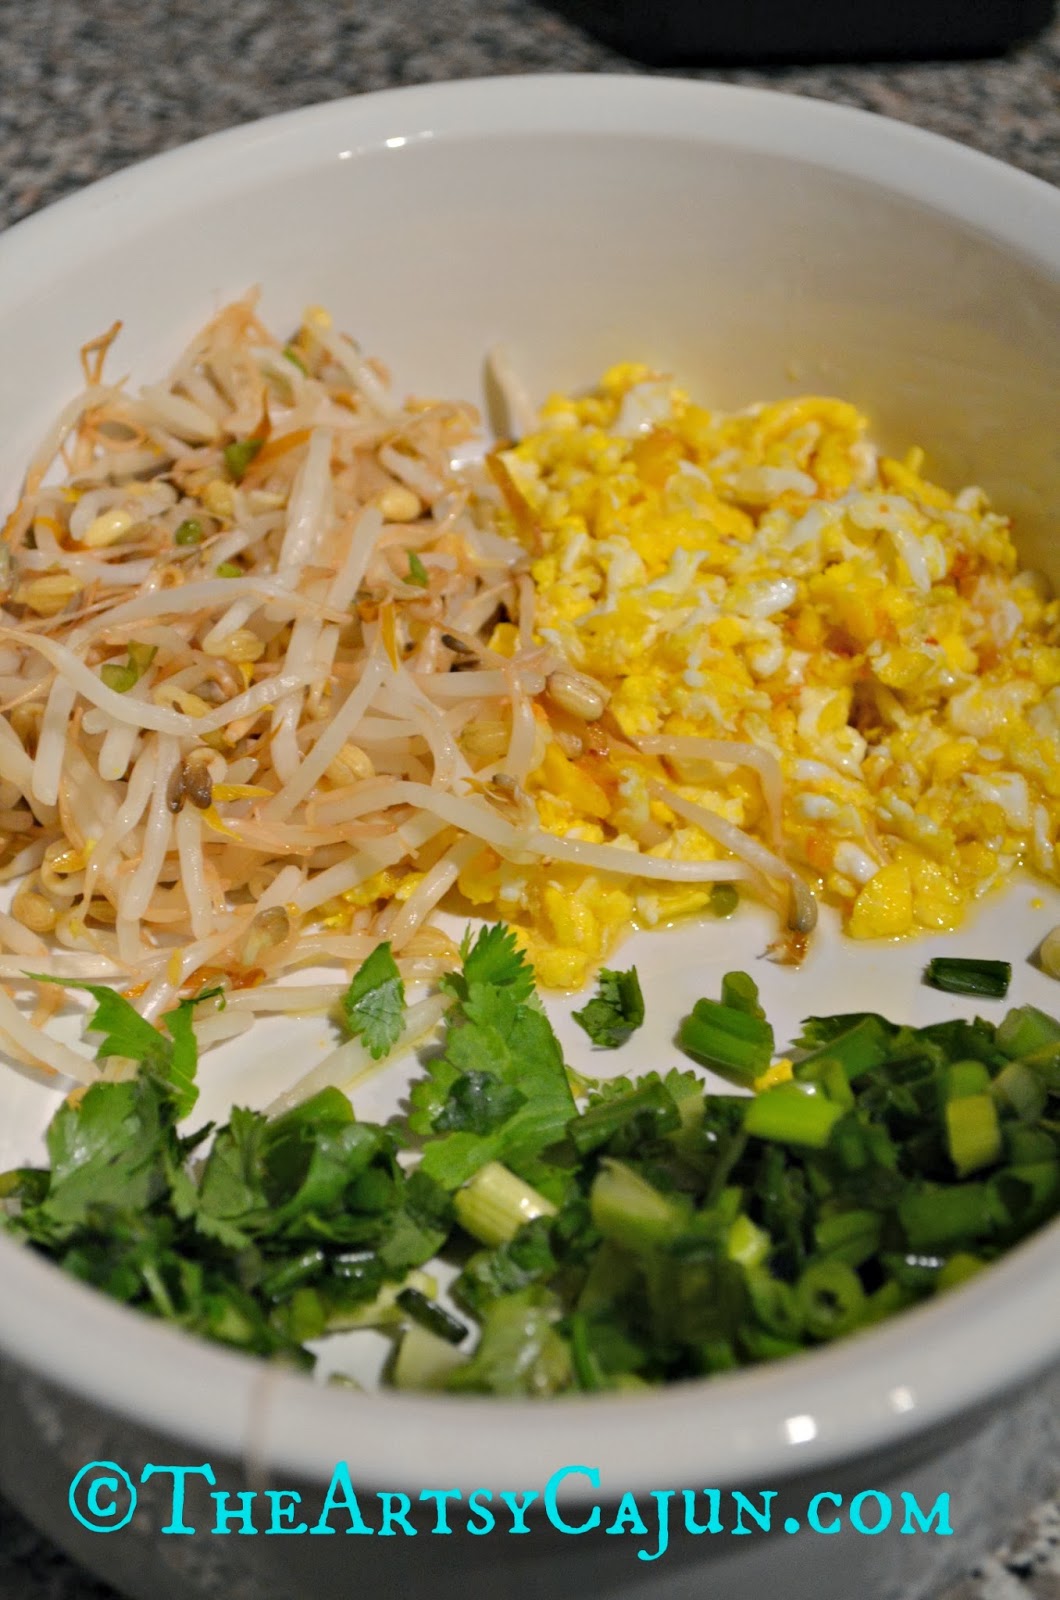
Optional: If you want to add the swanky items in there, you can purchase bean sprouts, rinse them thoroughly, and add about a handful. I also cut up green onions and cilantro, about half a handful of those.
www.theartsycajun.com
 
Once the chicken is cooked until no longer pink in the middle, you pour in everything you have- noodles, egg, and the optionals.

www.theartsycajun.com
 
Stir, baby, stir!

www.theartsycajun.com
 
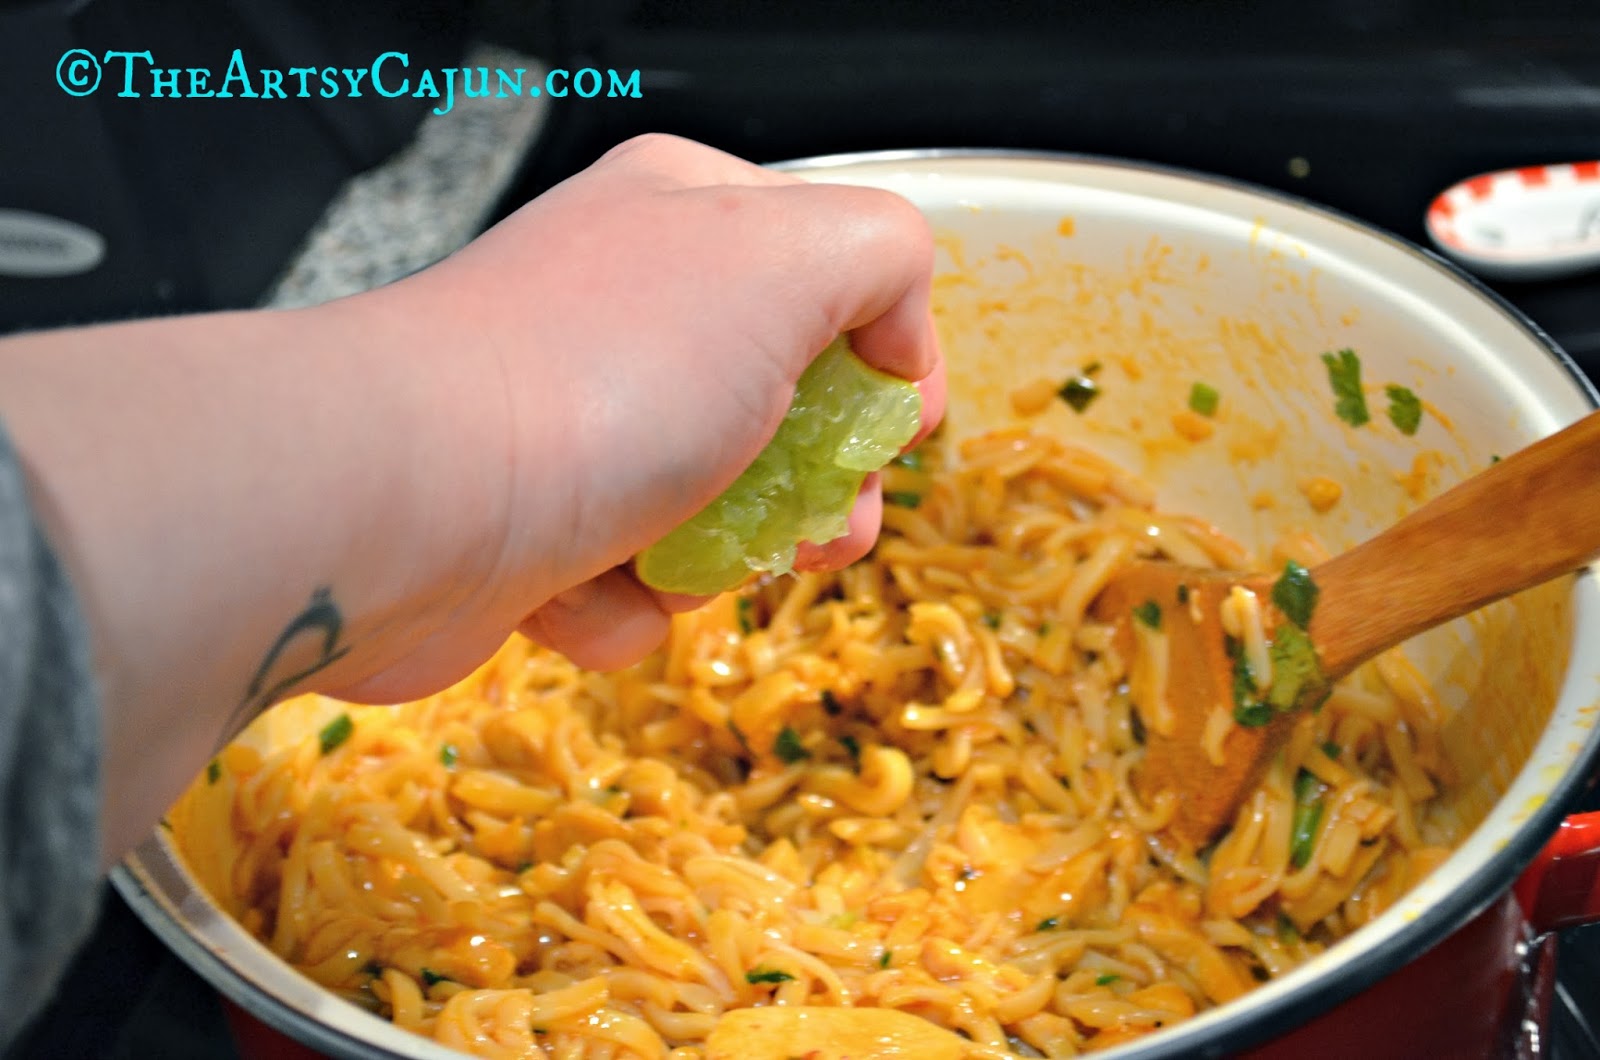
Another optional: I added juice from a lime, just to give it another layer of flavor!

 
 
www.theartsycajun.com
 
Then gobble this up because it's delicious!
 
It's basically cooking the chicken, and if you can do that, you can do this recipe. Minds will be blown here, my friends!
 
And for those who want the official recipe-
 
 
Chicken Pad Thai
 
2 packages Thai Rice Stir Fry Noodles- precooked
2 Tbsp. vegetable or olive oil- divided
1 egg, lightly beaten
1 pound boneless, skinless chicken breasts, cubed or thin strips
1 jar of Thai Kitchen Pad Thai Sauce
2 green onions, thinly sliced
1/2 cup bean sprouts
Fresh cilantro sprigs and lime wedge
1/4 cup coarsely chopped unsalted peanuts- optional
 
Heat up 1 tbsp. of oil in large skillet or wok on medium high heat. Add egg; scramble until set. Remove from skillet. Add remaining 1 Tbsp. oil to skillet. Add chicken; stir fry until cooked through. Add noodles, Pad Thai sauce, and green onions; stir fry 3 to 4 minutes or until noodles are tender.
 
Stir in bean sprouts and scrambled egg. Place noodle mixture on serving platter. Sprinkle with peanuts, serve with cilantro sprigs and lime wedge.
 
You can also substitute chicken for peeled shrimp or cut up veggies, or even cubed tofu!


Tell me some of your easiest recipes! Comment below!
Oct 24, 2013

No Knead Yeast Rolls


I love the yeast rolls that my elementary school use to serve us, and I have been on a hunt to find them since.  I'm happy to say- I found the perfect recipe!!! These are super delicious and don't be surprised if you make a meal out of rolls! They smell heavenly while the dough is rising and even better while baking! Ok, enough chit chat, let's get to the recipe!

No Knead Yeast Rolls

 2 (1/4oz) packets rapid rise yeast
1/4 cup granulated sugar
1-1/3 cup lukewarm water or milk
4 cups all purpose flour
1 tsp. salt
1 large egg- room temperature
8 Tbsp. melted butter- divided

  In measuring cup, dissolve yeast and 1 tsp. sugar in water. Let yeast mix sit 5-7 minutes to froth. In medium mixing bowl, sift flower, salt, & sugar. Add in egg. After yeast develops, gradually add to mix. Add 5 Tbsp. butter, mix until blended. Place ball of dough in a large, buttered bowl. Let sit in warm, draft free place with a damp kitchen towel over bowl for 1 hour to rise.
  After 1 hour, use ice cream scoop to measure & place dough balls in a greased pan. They need to be even to bake properly. Optional- Let rise again for 1 hour or bake immediately, your choice.
 When ready to bake, use basting brush and brush on butter. Bake at 400 degrees for 20-22 minutes until light golden brown. Brush remaining butter on tops again before serving.


Check out some of the photos I took while baking!


Oct 2, 2013

Krusteaz Key Lime Bar Review

 I confess... I've been off the blog posting for a few days. Just not a good week pain wise, but I did manage to snap a few photos for this review before the Husband gobbled them up! I have to say- the Key Lime Bars were pretty good! I like a creamier (like pie) version rather than a jelly type like these, but it was still good! And it does have a recipe on the box to turn it into a pie.


Simple instructions, just water and eggs needed, and powdered sugar if you want them, and it was pretty quick prep! I think this would be great for any skill level of bakers out there. 
 
You start out pushing the crust powder packed into a greased pan and bake it for about 10 minutes, then remove it from the oven. While that's baking, it's simply blending up the filling packed with eggs and water! So simple! After the crust is baked, pour the mix in and pop it back in the oven.


This is a perfect "fast" dessert for when you just don't want to do much for something delicious and sweet!


 Mine are a little flatter than those pictured in the box because I used a 9x9 pan when it called for an 8x8.
 
Have you guys tried the box desserts? What are some other delicious ones?
Sep 6, 2013

Favorite Fridays: Super Easy California Sushi Bowl Recipe

Hey there! Happy Friday! I hope you guys are prepping for a fun weekend ahead. Now, its time for my Favorite Friday post! Every Friday, I want to start sharing my favorite things with y'all. This can be a wide array of things- recipes, products, places, people, etc. Today, I wanted to share a quick and easy recipe that I absolutely love. This is perfect for any day, but especially good for the days where you need something in 20 minutes and you don't want to resort to fast food!


Confession time- I love sushi. I could eat it all day, every day. I love it so much that I had to learn how to make it at home instead of spending a fortune at restaurants!  Now, here comes a huge problem, it is incredibly time consuming rolling sushi! Not to mention you compile and roll it perfectly and the second you put to much pressure on the knife while cutting- it flattens the whole thing! Then I thought, why don't I just throw it all in a bowl Emeril style- BAM! So easy and fast! This is my go-to meal when I need something delicious and healthy in a hurry! Not to mention the fact that it only needs to be served room temp/semi warm, so microwaving it later takes like 45 seconds!

OK, here's how I do it- (this makes about 3 sushi bowls)

 Ingredients-
  • 1 package Crab meat, chopped
  • 3 Nori (dried sea weed paper like stuff in the Asian section of store)
  • 1/2 Cucumber, diced
  • 2 cups White Rice, cooked
  • Wasabi, I use Kikkoman's
  • Soy Sauce, I use Kikkoman's lower sodium
  • 1 Tablespoon Mayo
  • Salt & Pepper to taste
Directions:
1. Cook 2 cups of white rice. I use a rice cooker, but if you don't have one, just follow the instructions on the rice package.


2. While the rice is cooking, dice crab meat up and mix with 1 tbsp. mayo in a bowl. Add salt and pepper.
3. Dice up cucumber and avocados.


4. Cut up nori into 1/2 inch pieces. I use my cleaned kitchen scissors to do this, and the size doesn't have to be precisely 1/2 inch, just smallish squares. I find that the nori, when it's in the warm rice, gets a little squiggly so smaller pieces are able to mix evenly in the rice.


5. When the rice is cooked, place a couple of scoops in a bowl.

 6. Next, sprinkle nori squares on top of rice.


 7. Add crab & mayo mix to bowl.

 8. Next comes cucumbers and avocados. Use your judgment on how much you would like in your bowl. I just grabbed a small handful.


9. Lastly, drizzle wasabi and soy sauce on top!

I normally like to add a tiny bit of cream cheese to my sushi bowls just because I LOVE cream cheese, but this is completely optional.

You can probably make a sushi bowl just like any of your favorite sushi rolls, just substitute the meat and veggie ingredients!

I hope you guys try this super easy recipe & let me know, what are some of your favorite sushi rolls? Have you tried to make them at home?