Showing posts with label DIY. Show all posts
Dec 5, 2016

Easy DIY Fall Arrangement


Y'all, Fall is almost over, but I finally uploaded the photos so I need to publish this ASAP! Although, I used fall flowers in this DIY project, but you could use any kind to celebrate all seasons!

OK, so everything here I found at Michael's, but again, use whatever you have on hand, or whatever type of flowers you'd like! I plan on doing a little arrangement for all the holidays as they come around.


What you'll need:

Container of some sort, this is a little Wilton bucket that I think you can actually bake in
2 bunches of artificial flowers- I used Sunflowers here. You can also use more flowers if you want a fuller bouquet.
2 blocks of flower foam
Sharp scissors or wire snips
wired, wide ribbon,
Any additional picks or extras you want to add to the bouquet.


1. Cut flower foam to fit inside your bucket or container. I snipped off just enough so the foam would fit, but not fall out easily. You want a snug fit.


2. Snip all flowers at various lengths.


3. Starting in the middle of the foam block, stick in the tallest flowers.  Then, add the medium height flowers, spacing them out enough to make it look full. Lastly, add in the shortest flowers. Fluff all the flowers & leaves throughout the bouquet.


4. Add in any picks or additional decorations. I chose two cute scarecrows. They came already on a stick, but you could easily glue something onto a wooden skewer if you can't find anything already on a stick.


5. Time to wrap the ribbon around the bucket & try your best to make a bow. The AMAZING thing about wire ribbon is when you fluff the bow part, it actually stays! Makes it look so much nicer & for minimal work!  I had to put a piece of tape on the back part of the bucket to help secure the ribbon.


There you go! SOOOO easy & you just saved about $20 each!   I think total cost for my supplies was less than $20 for 2 arrangements.  The thrifty part of me is jumping up & down about this! Hopefully, these two arrangements will last many years to come.

What's your favorite ways to decorate for the holidays? Comment below!
Mar 12, 2014

Home Tour- Coastal Decor

OK, listen up, I LOVE the SEA. I think I may have been a mermaid in another life, if reincarnation exists... or mermaids for that matter. I love the smell of the salty air, I love the feeling of sand between my toes, collecting treasures from the shores,  the sounds of waves crashing... ahhhh...

SO, while I'm stuck here in Antarctica, I mean, Illinois, I needed to feel as if I was close to the water while I freeze to death. And I had a ton of sea glass and shells from Oahu that were just sitting in a box, feeling a little lonely. So I decided to go... Coastal. (See what I did there?)

Warning: this post has about 18 pictures, and I'm X-large-ing every one of these babies. I'm also putting a video of one of our favorite bands, Irration (one of our first dates was going to see them in concert in Honolulu!) on here, so click the video, and listen to the song as you scroll through our living room tour!


Hope you enjoyed! I realize I focused most of the pictures on the mantle. That's because it's the prettiest mantle I've ever done! The rest of the living room consists of a beige sofa and love seat, blue recliner, and blue rug from Ikea. Pretty boring compared to the mantle!

How do you display some of your souvenirs?
Mar 10, 2014

Weekly Wishes, Quilts For Days Edition

I link up with The Nectar Collective 
for Weekly Wishes. This is an opportunity to share your wishes, goals, and or dreams with everyone. For me, it's a way to hold me accountable to get things done and off my to do list!


The Nectar Collective

So here goes:

1Mail off packages to family and friends!  I have about 3 packages that I just need to gather everything and send off. It's just difficult while you're waiting on other items! Don't get me wrong, I love the flat rate boxes from the USPS, but at $16 a pop, I want to cram as much stuff as I can into it! Ehhhhh..... Still haven't mailed the packages! We had another round of snow and I just refused to get out of the house! :)   SOOOO DONE with this one! That was quite a Post Office trip! Sadly, when I came back home, I found a couple of things that were supposed to go into the boxes. Ah well, I guess it's time to start more packages. 

2.Finish online photography class. I signed up for an online photography class a few months ago through Groupon. I managed to get half way finished before getting too busy with all the doctor's appointments and testing. Now, I feel there is a light at the end of the tunnel with all of that and I can wrap up all the loose ends... like this class! I definitely think that everyone needs a refresher course on how to use their camera every once in a while, and while it's on Groupon for half price, it's the perfect opportunity! Didn't finish this one either! No excuse, just didn't do it!, (It's still on here because I am horrible about remembering! The class expires the end of this month, so it WILL be done!)

3. Blog like a mad woman. This is the deal, I have creativity flowing out of my pores. From blog post ideas, to paintings, to sketches, to books (yes, I have a book idea and am so eager to finally write it) and even crafts for personal and designs to the Etsy store. My problem is that there aren't enough hours in the day nor energy in my body to carry out everything that is stuck in my head. And once an idea pops into my brain, it will not get wiped until it is complete. I write it down, I start things, I half complete them, but it makes a huge mess because of all the half finished things! So, my plan this week is to dedicate myself to finishing all of the half post drafts I have, and schedule them! I need to clear them from my brain and then *fingers crossed* I can concentrate on finishing the projects I have laying around! Yes! I love this plan! I'll keep this one on here too since I've only written half of the ideas I have. And not to mention all of the travel posts from our Europe tour LAST YEAR. Yes, I am admitting defeat here folks. 


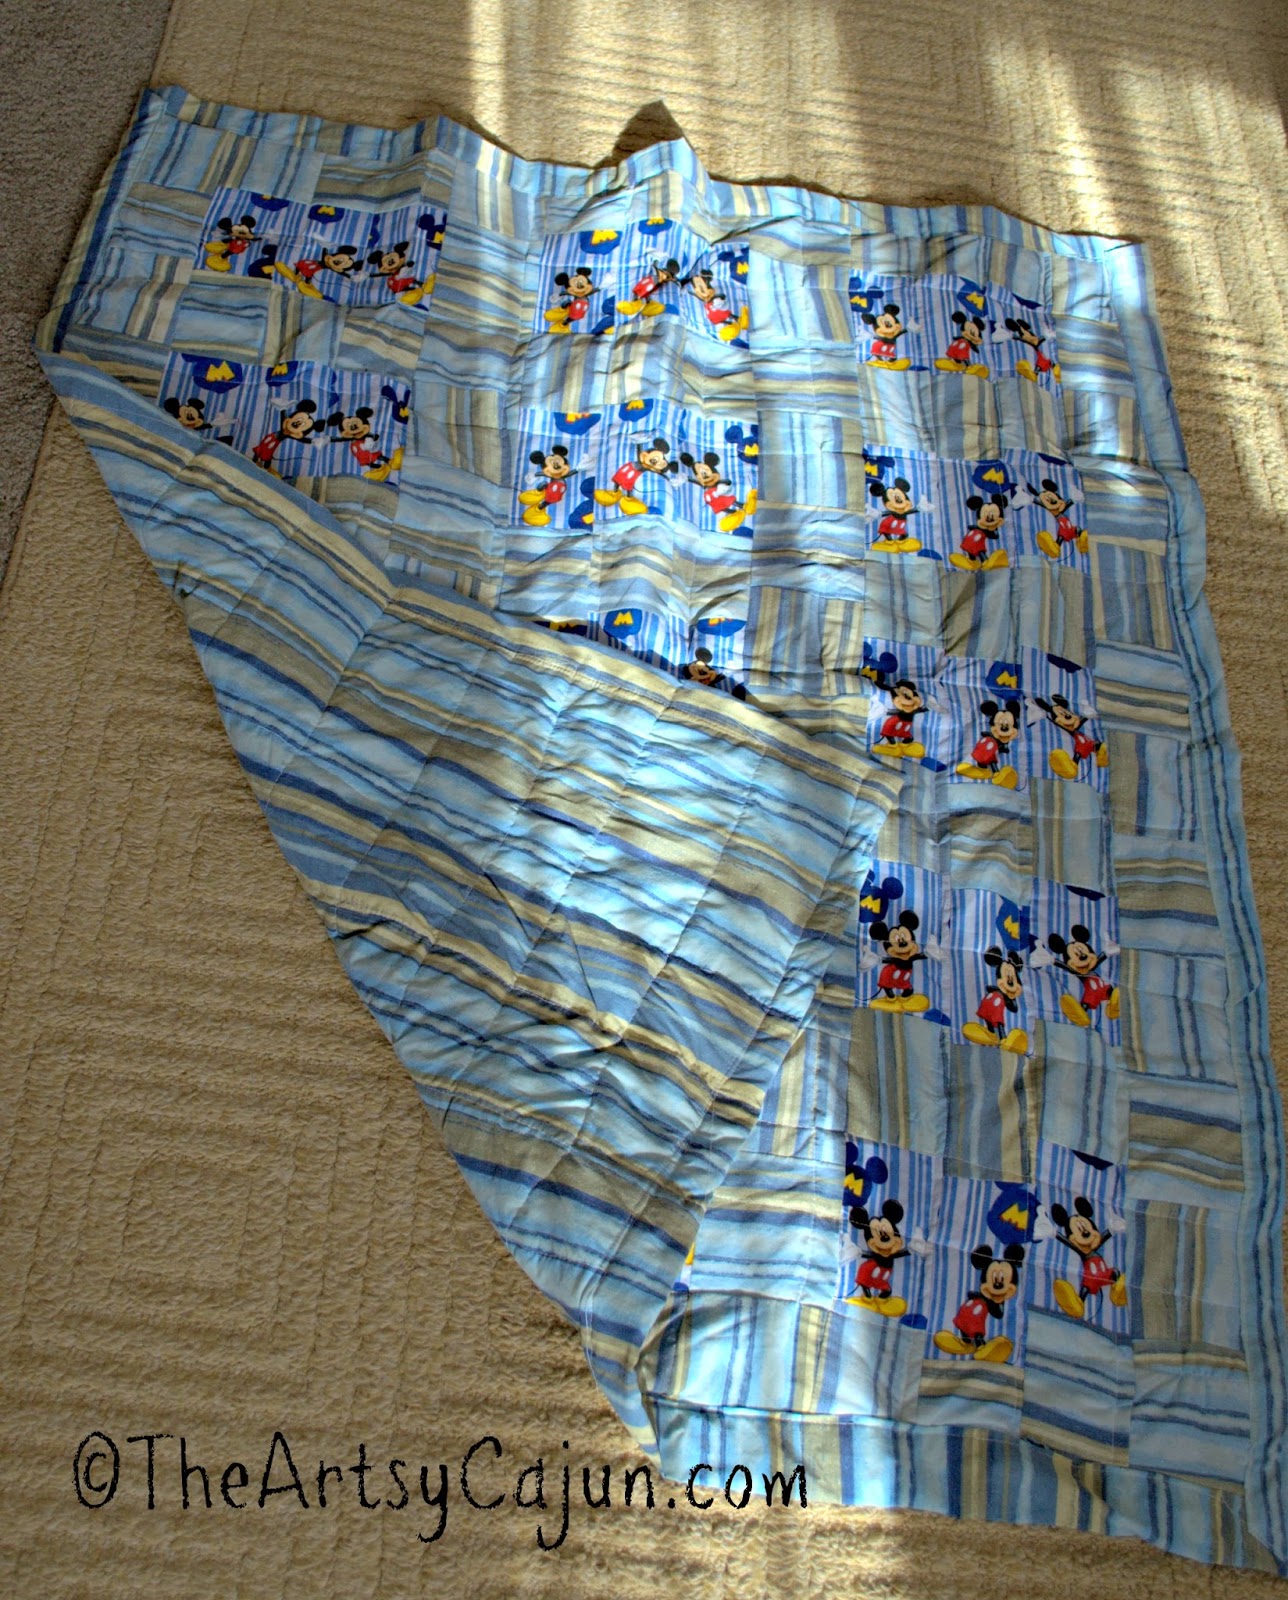
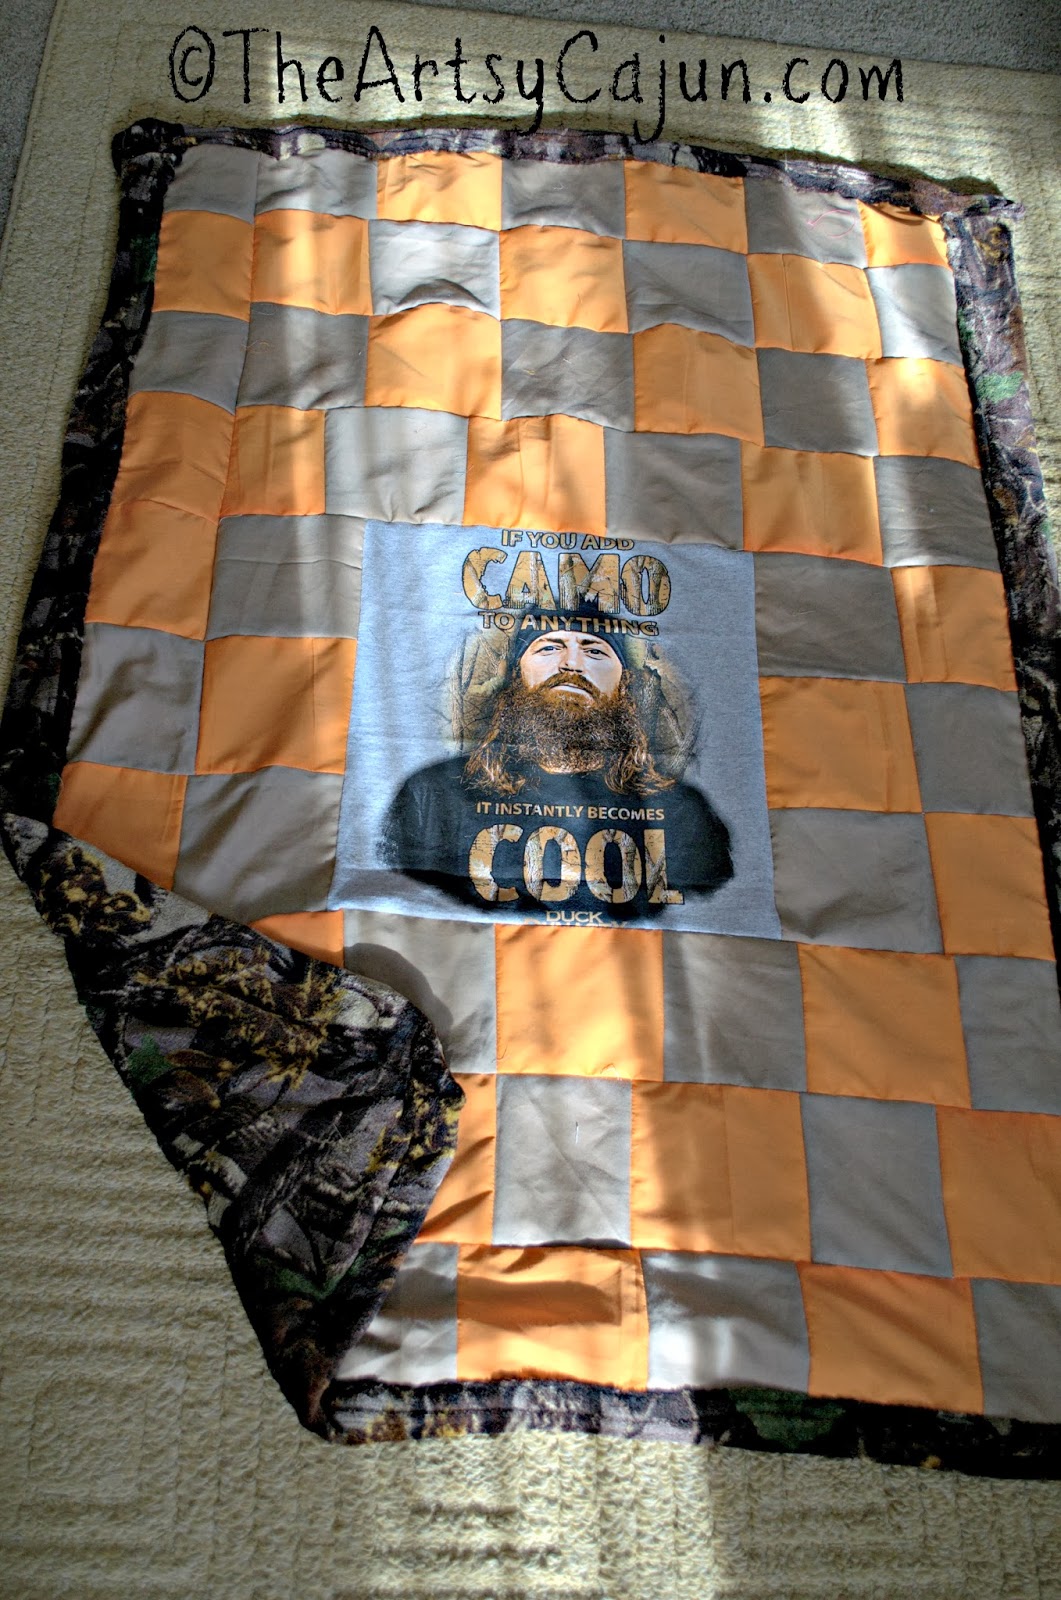
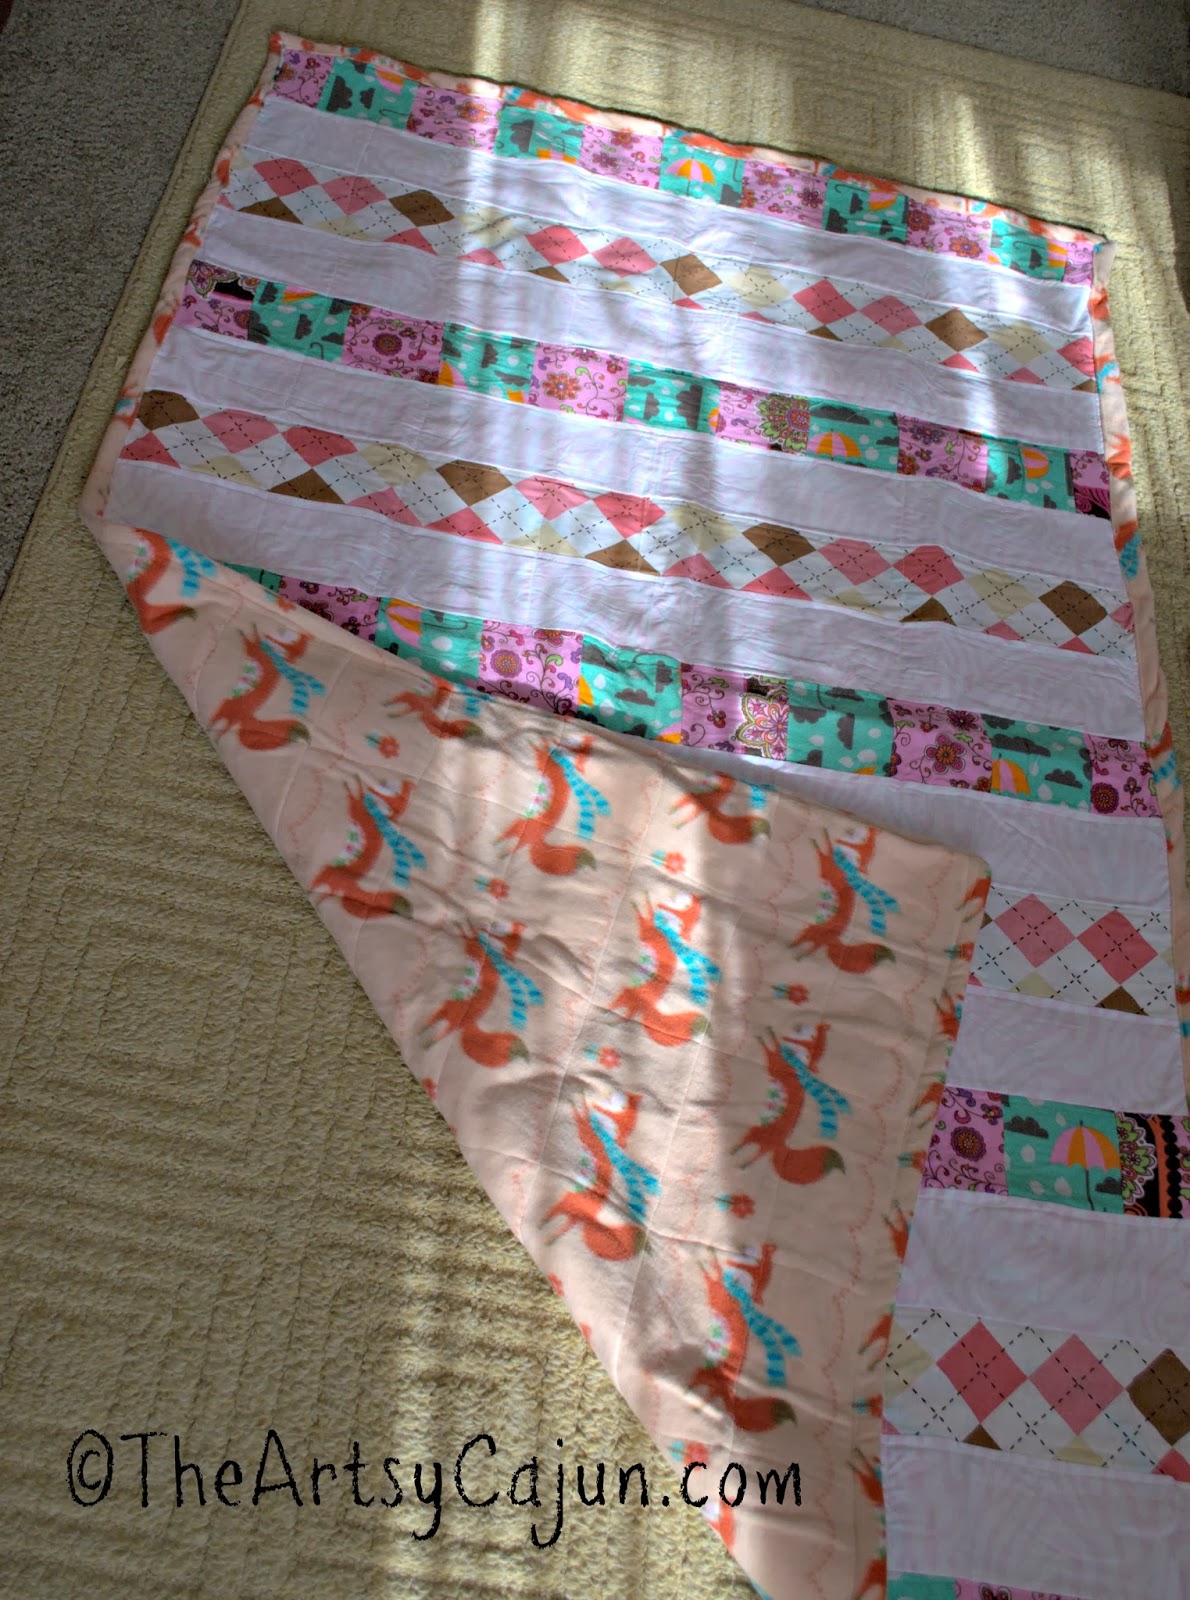
Did you notice what was NOT on the list this week? Quilts, you say? YES! You are correct! I finished those babies and mailed them off yesterday, but not before I remembered to take pictures. Now you can see what has been haunting me for months now! 


What are some of your weekly wishes?
Feb 28, 2014

Find Beauty Friday

Find Beauty Friday is a great way to share your pictures from the week which displays something beautiful! It's never to late to link up with Aimee from Dear Harper Blog!


Dear Harper

Today, I find incredible beauty in my newly decorated mantle. I am a sea lover, and with the polar vortex bothering us yet again, I couldn't help but wish for sun kissed, salty air days! I will post a home tour of my living room next week, so stay tuned for that! Until then, enjoy!


How's your weekend shaping up? PLEASE tell me, at least one of my dear readers and friends are enjoying salty sea air this weekend!
Oct 25, 2013

DIY Zombie Makeup


Halloween is around the corner, folks! This Halloween, Husband has to work, so we won't be able to do any ghoulish festivities. But let me tell you about last Halloween. We were still on Oahu, and someone had heard about a Zombie Pub Crawl in Honolulu. We just had to go! I wasn't into the drinking aspect, but to dress up like zombies and participate in the "crawl" portion was fun! We saw tons of other zombies unnaturally making their way down the closed down streets... it was spooky!  To participate, you had to dress like a zombie, so I started thinking of ways to do your makeup. Clothing was easy, just get some clothes you didn't like and put fake blood, dirt, and rip them a bit. But the makeup was a challenge. Turns out, Husband had a cheap vampire makeup kit from the Halloween before, so I was determined to work with what I had.

Let me share this DIY Zombie Makeup with you guys!
 
 
It was fairly easy. The rest of my costume was a bimbo, so I did the makeup of how I'd look before I turned into a zombie. Next,  I put a couple of base layers down of this blueish grayish color and dusted with baby powder in between because, I don't know if you know this, but Honolulu is humid! I didn't want this hard work to sweat off!


After the base layers are dry for about 5 minutes, I took the black crayon that came with the kit and did a little deathly contouring to my face. Cheek bones protrude, nose, and forehead a little, then dusted with baby powder again. I don't know if you guys ever used the $2 cheap vampire makeup kits they have, but all of it is oil based. I didn't want to be shiny since I wanted my face to look like decaying flesh... I know this sounds absolutely disgusting to describe, but we had excellent zombie faces!


Now, I needed a gash or scratch or bite area where I would've been "infected" by another zombie. For this, I used the clear Elmer's glue you bought as a elementary school child, and drum roll please.... toilet paper! I applied a layer of glue to my face, then toilet tissue, and waited a few seconds for it to be tacky, then more glue. You can play with it a bit to make a cut or just a big chunk missing from your face. Once you get it the way you want, you have to let it dry out for about 30 minutes or so. Or do like me and use the hair dryer because you're not patient enough! Remember to switch off to the cool setting of the hair dryer every few seconds, you don't want the rest of your makeup to run!
 

 After that, I just thought about where a zombie would bruise when dying... gross thinking... I know. SO I added bruise like colors to those areas.


Once dry, add the base color and set it with the baby powder and then start adding the blood/bruised colors! I used the red crayon for this, as well as fake blood.


This was lots of fun, check out our pictures! I also had Husband and our friend Joe as my victims and made up their faces too! Husband was the redneck zombie and Joe our mechanic zombie!


What's your favorite Halloween costumes? Have a great weekend!
Oct 22, 2013

DIY dog bed for $10


Have you guys priced a dog bed at the pet stores lately? Outrageous! There are other things I'd rather spend $50 on. And, like most of you I'm sure, have a few extra pillows in the closet just collecting dust. So I came straight home and started to make it myself! I'll tell you how I did it....


What you need
2 standard pillows
Scissors
Lots of large safety pins
Large needle
Thread


One pillow was used as the base, and I cut the other pillow, length wise into 3 equal parts.

 
The hard part is keeping the stuffing in and pinching the two outer pieces of fabric closed while matching it with the base pillow and then safety pinning all of it together. Do this with one long side of the pillow.
 

Next, bring the second cut up piece of the pillow and pin the sides together, then start pinning the rest of the side.
 
Close up of the corners.


Once you get to the corner, bend it around and continue to pin. It should look like the picture below.


Now that it's all pinned, you need to do is sew the edges together! I used an over and under stitch- totally not the correct name for it, but it describes it the best! Also, I wanted to sort of seal the edges because all dogs love to tear up stuffing.


And you're all done! Looks mostly like the ones at the store.


The best part for me is- I cover it with some unused beach towels and I can change them out every day and wash them! This helps my allergies tons!


 I think I have one happy customer!